Project Profile: From Doom and Gloom to a Bright New Room ~
Just Add Paint from Camp Hill, PA take over this project at the point of “Most of our wall came off along with the wallpaper, and we are not really sure what to do next”. Fortunately for us we had seen this before. We hope you enjoy this project profile…
Reason for Client Contact: WE were contacted by a client who does a good deal of his own painting. (The quality of his work throughout the house looked very good to us.) He was at wits end when he called us, and when we saw what he was working on, we knew why! He and his wife try to do their own work on their house. This room, however, had been covered with wallpaper- which they successfully removed themselves! (Well, they didn’t think it was successful- there was massive wall damage throughout the room.) Just Add Paint had to do some “ego damage control” by explaining, very truthfully, that wallpaper is a NIGHTMARE, even for us. Wall damage is common, even when you do everything by the book. This information soothed our client’s self doubt, but did not create in him a burning desire to re-enter the room where the trouble had all started. We told him we were happy to step in to help with the wall damage repair, and were thrilled to give him a break from the rest of the job as well!!
Services to be Utilized:
- Butcher Block and Yellow Frog Tape off entire floor area for protection from paint splatter, and in order to allow us to prime dark wood trim with aerosol oil or shellac
- Mask Windows with Easy Mask and / or Frog Tape in order to keep glass areas clean while painting wood frame / grid areas
- Shellac and Oil Primer will be used for several reasons. First, wood trim was stained very dark. Second, the drywall had been torn through to the backing paper, therefore these areas MUST be primed carefully with shellac or oil, in order to keep them from bubbling and destroying the wall when water based paint or spackle are applied.
- Trim Prep: All trim areas were unfinished, (as is common with dark trim,) so all nail holes needed to be filled and all seams needed to be caulked. (Areas that are unfinished often go unnoticed with dark trim, but become a horrible issue when white paint is applied- this reveals all of the unfinished parts.)
-
Krud Kutter- The homeowner had several cats, who often spend time in this room. As people, most of us are not “anti-cat.” As painters, however, we must admit that they can cause a bit of a mess- both through scratching walls to sharpen their claws, and through applying the oils that keep their fur shiny and beautiful to the walls. (It looks better on them than on the walls!) We utilize Krud Kutter degreaser as a way of cleaning these oils off of trim and other shiny surfaces, and this allows our paint to bond directly to the surface of the wood, rather than “floating” on the oils on the surface of the trim.
- Sherwin Williams Quick Dry Spackle- This is our gold standard product for any job with a large amount of patching. We also love it when some of the patches are deep, as will be the case on this job when repairing home deep tears to the drywall, and deep cracks in the ceiling which need to be taped.
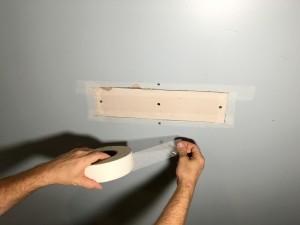
- Mesh Tape application to deep ceiling cracks
- Disk Sanding all Walls prior to priming, in order to knock down edges. (This will lessen the amount of spackle needed to make smooth, perfect patches.
-
Festool HEPA Vac System with Rectangle Sander and 220 Grit Granat (Blue) Series Paper- We will be using this dustless sanding system for all patch sanding. It gives extremely smooth results, captures all dust, and with 220 grit paper, can put a near flawless finishing touch on all patches.
- Sherwin Williams Paints. These include our three standards, Qualikote Flat for use on the ceiling, Superpaint Flat for use on the walls, and Duration Semi-Gloss for use on all trim.
- Arrow Worthy microfiber roller covers, 9/16th and ¾ inch nap.
- Sherwin Williams Jumbo Mini-Whizz roller covers for trim paint application
- Handi Pail and Tray products for holding trim / wall paints
Challenges of the Job:
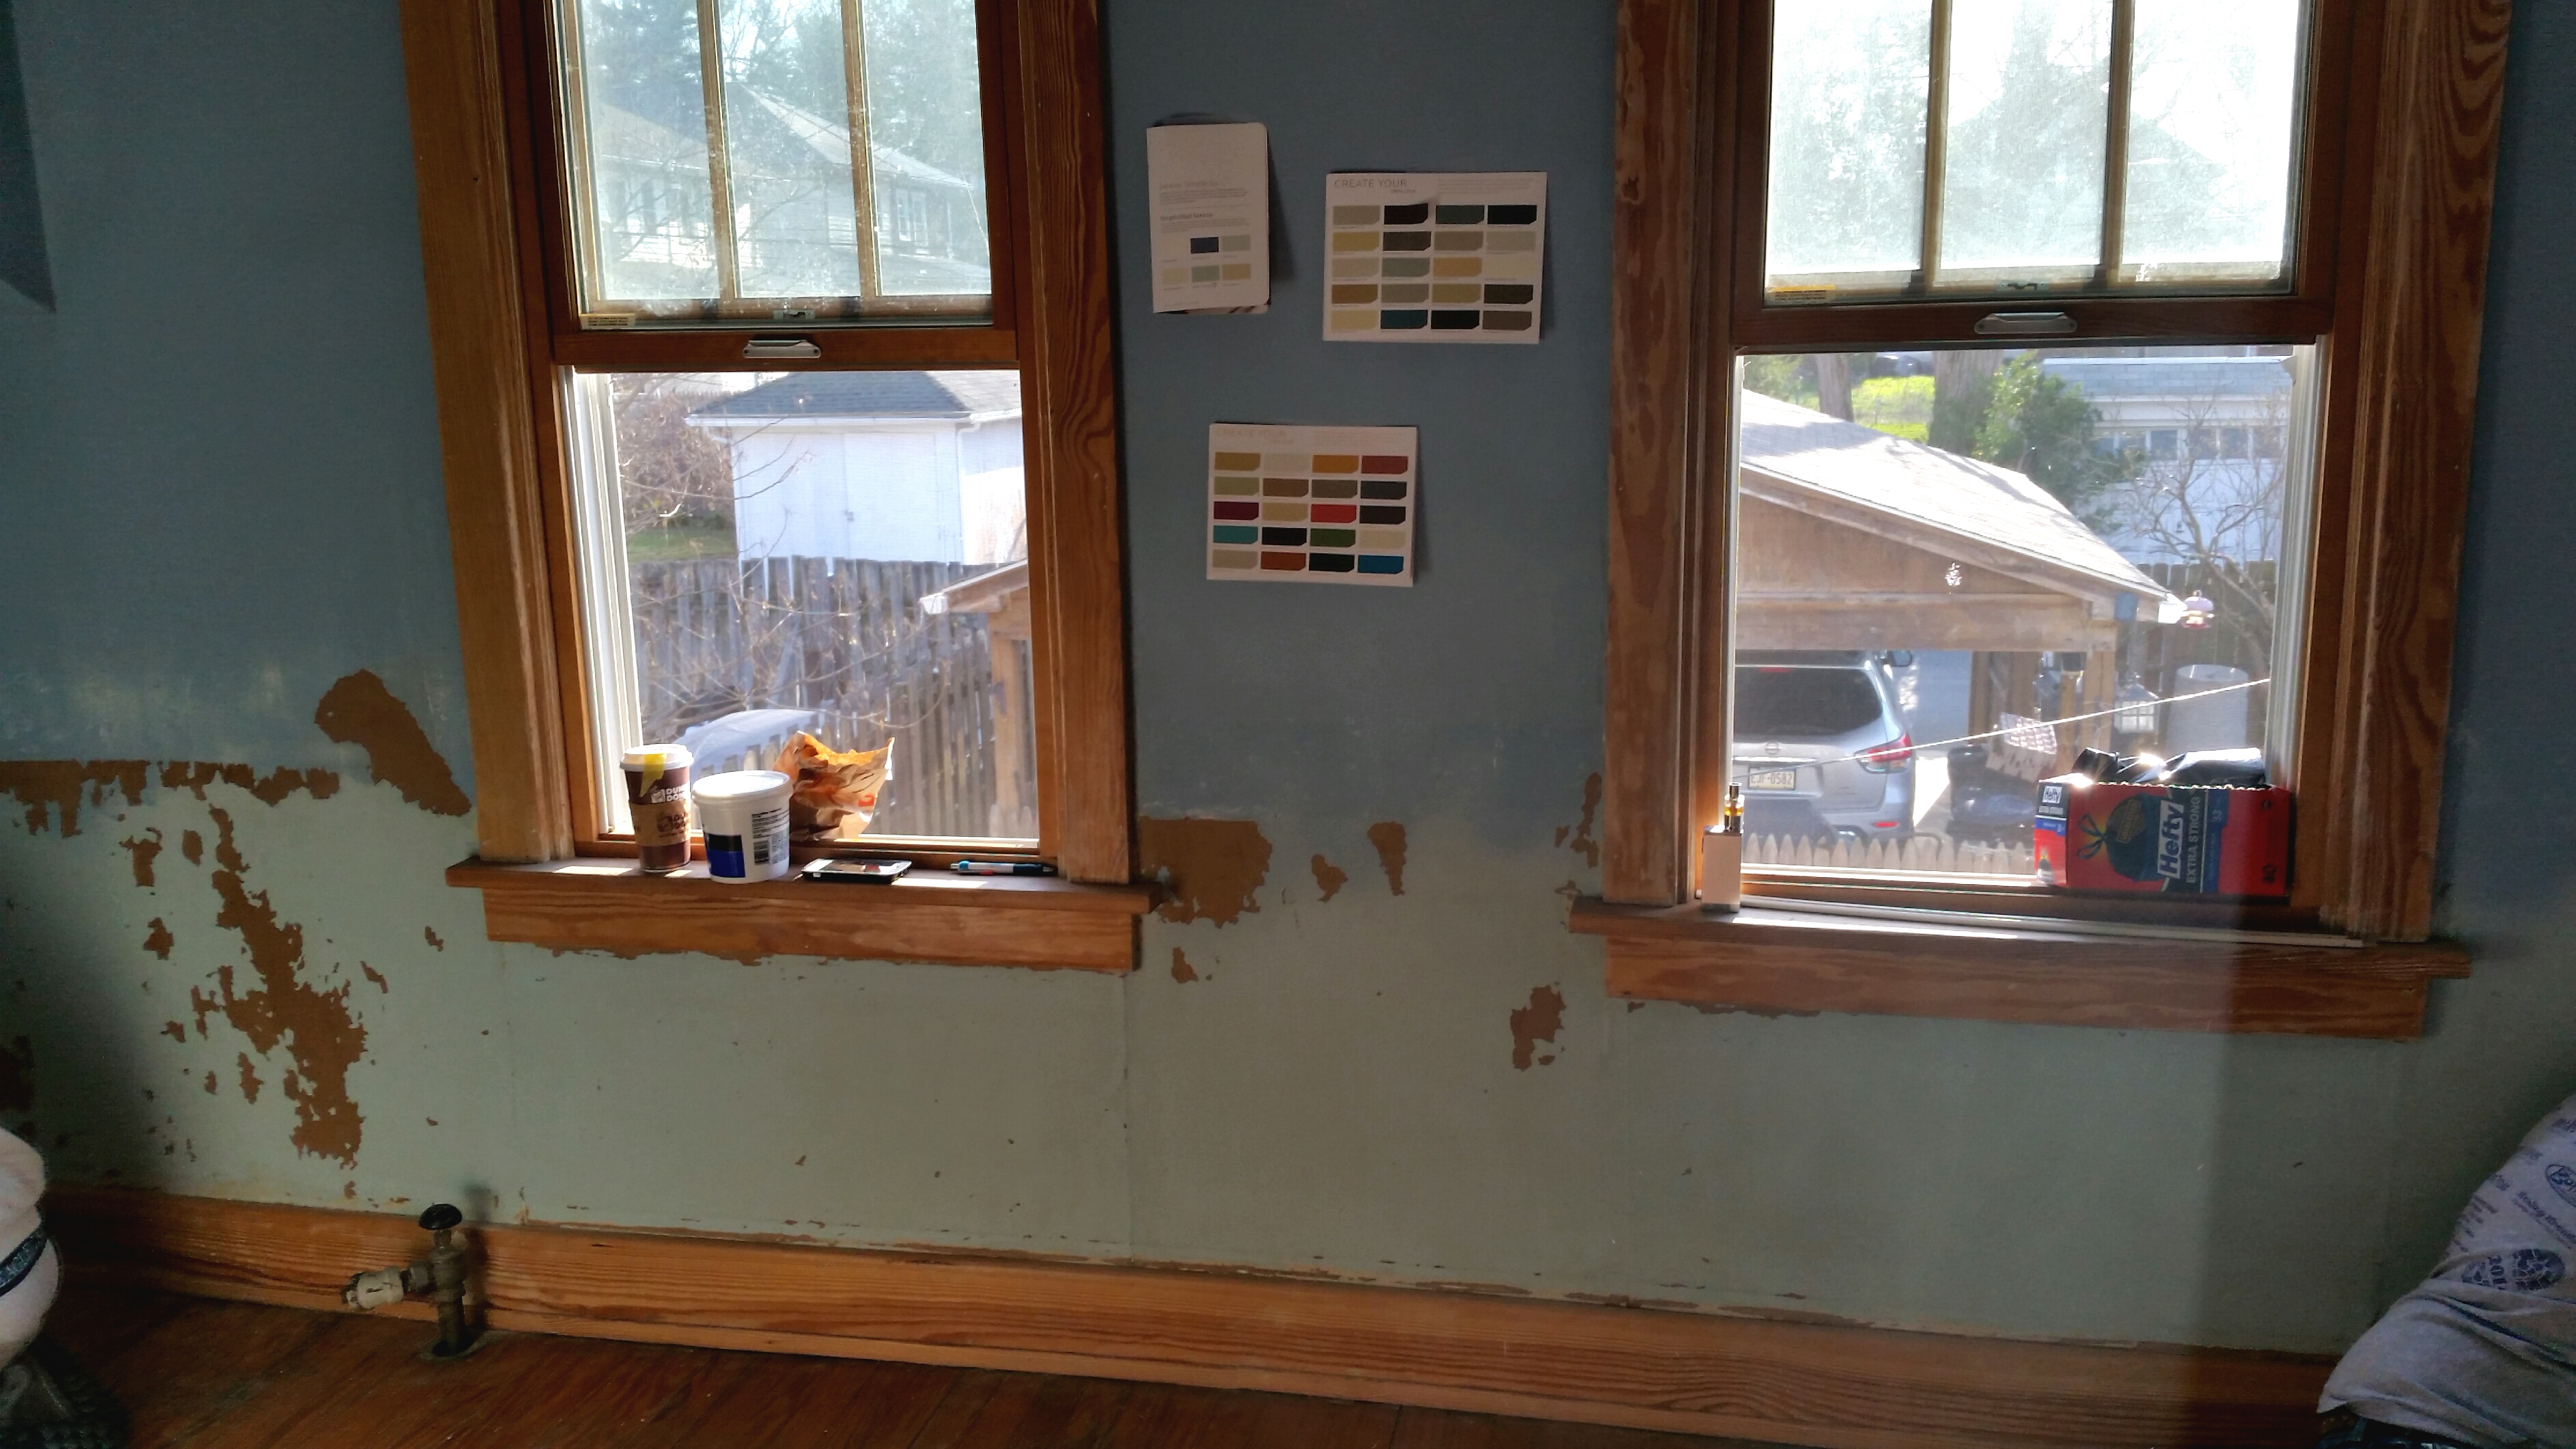
As is often the case, Dark Wood Trim turned out to be entirely unfinished.
This is something we run into frequently, yet still catches us off guard, as we cannot imagine this finishing work not being done at the time of installation. Unfinished wood often goes unnoticed when trim is dark, but once white paint is applied, all nail holes and lack of caulking displays as black dots and slashes along the wood. We started filling holes and caulking the trim 1st thing after cleaning all of it with Krud Kutter to remove cat fur oils. We used a fan close to the ground to dry the caulk, as humidity in the room was rather high.
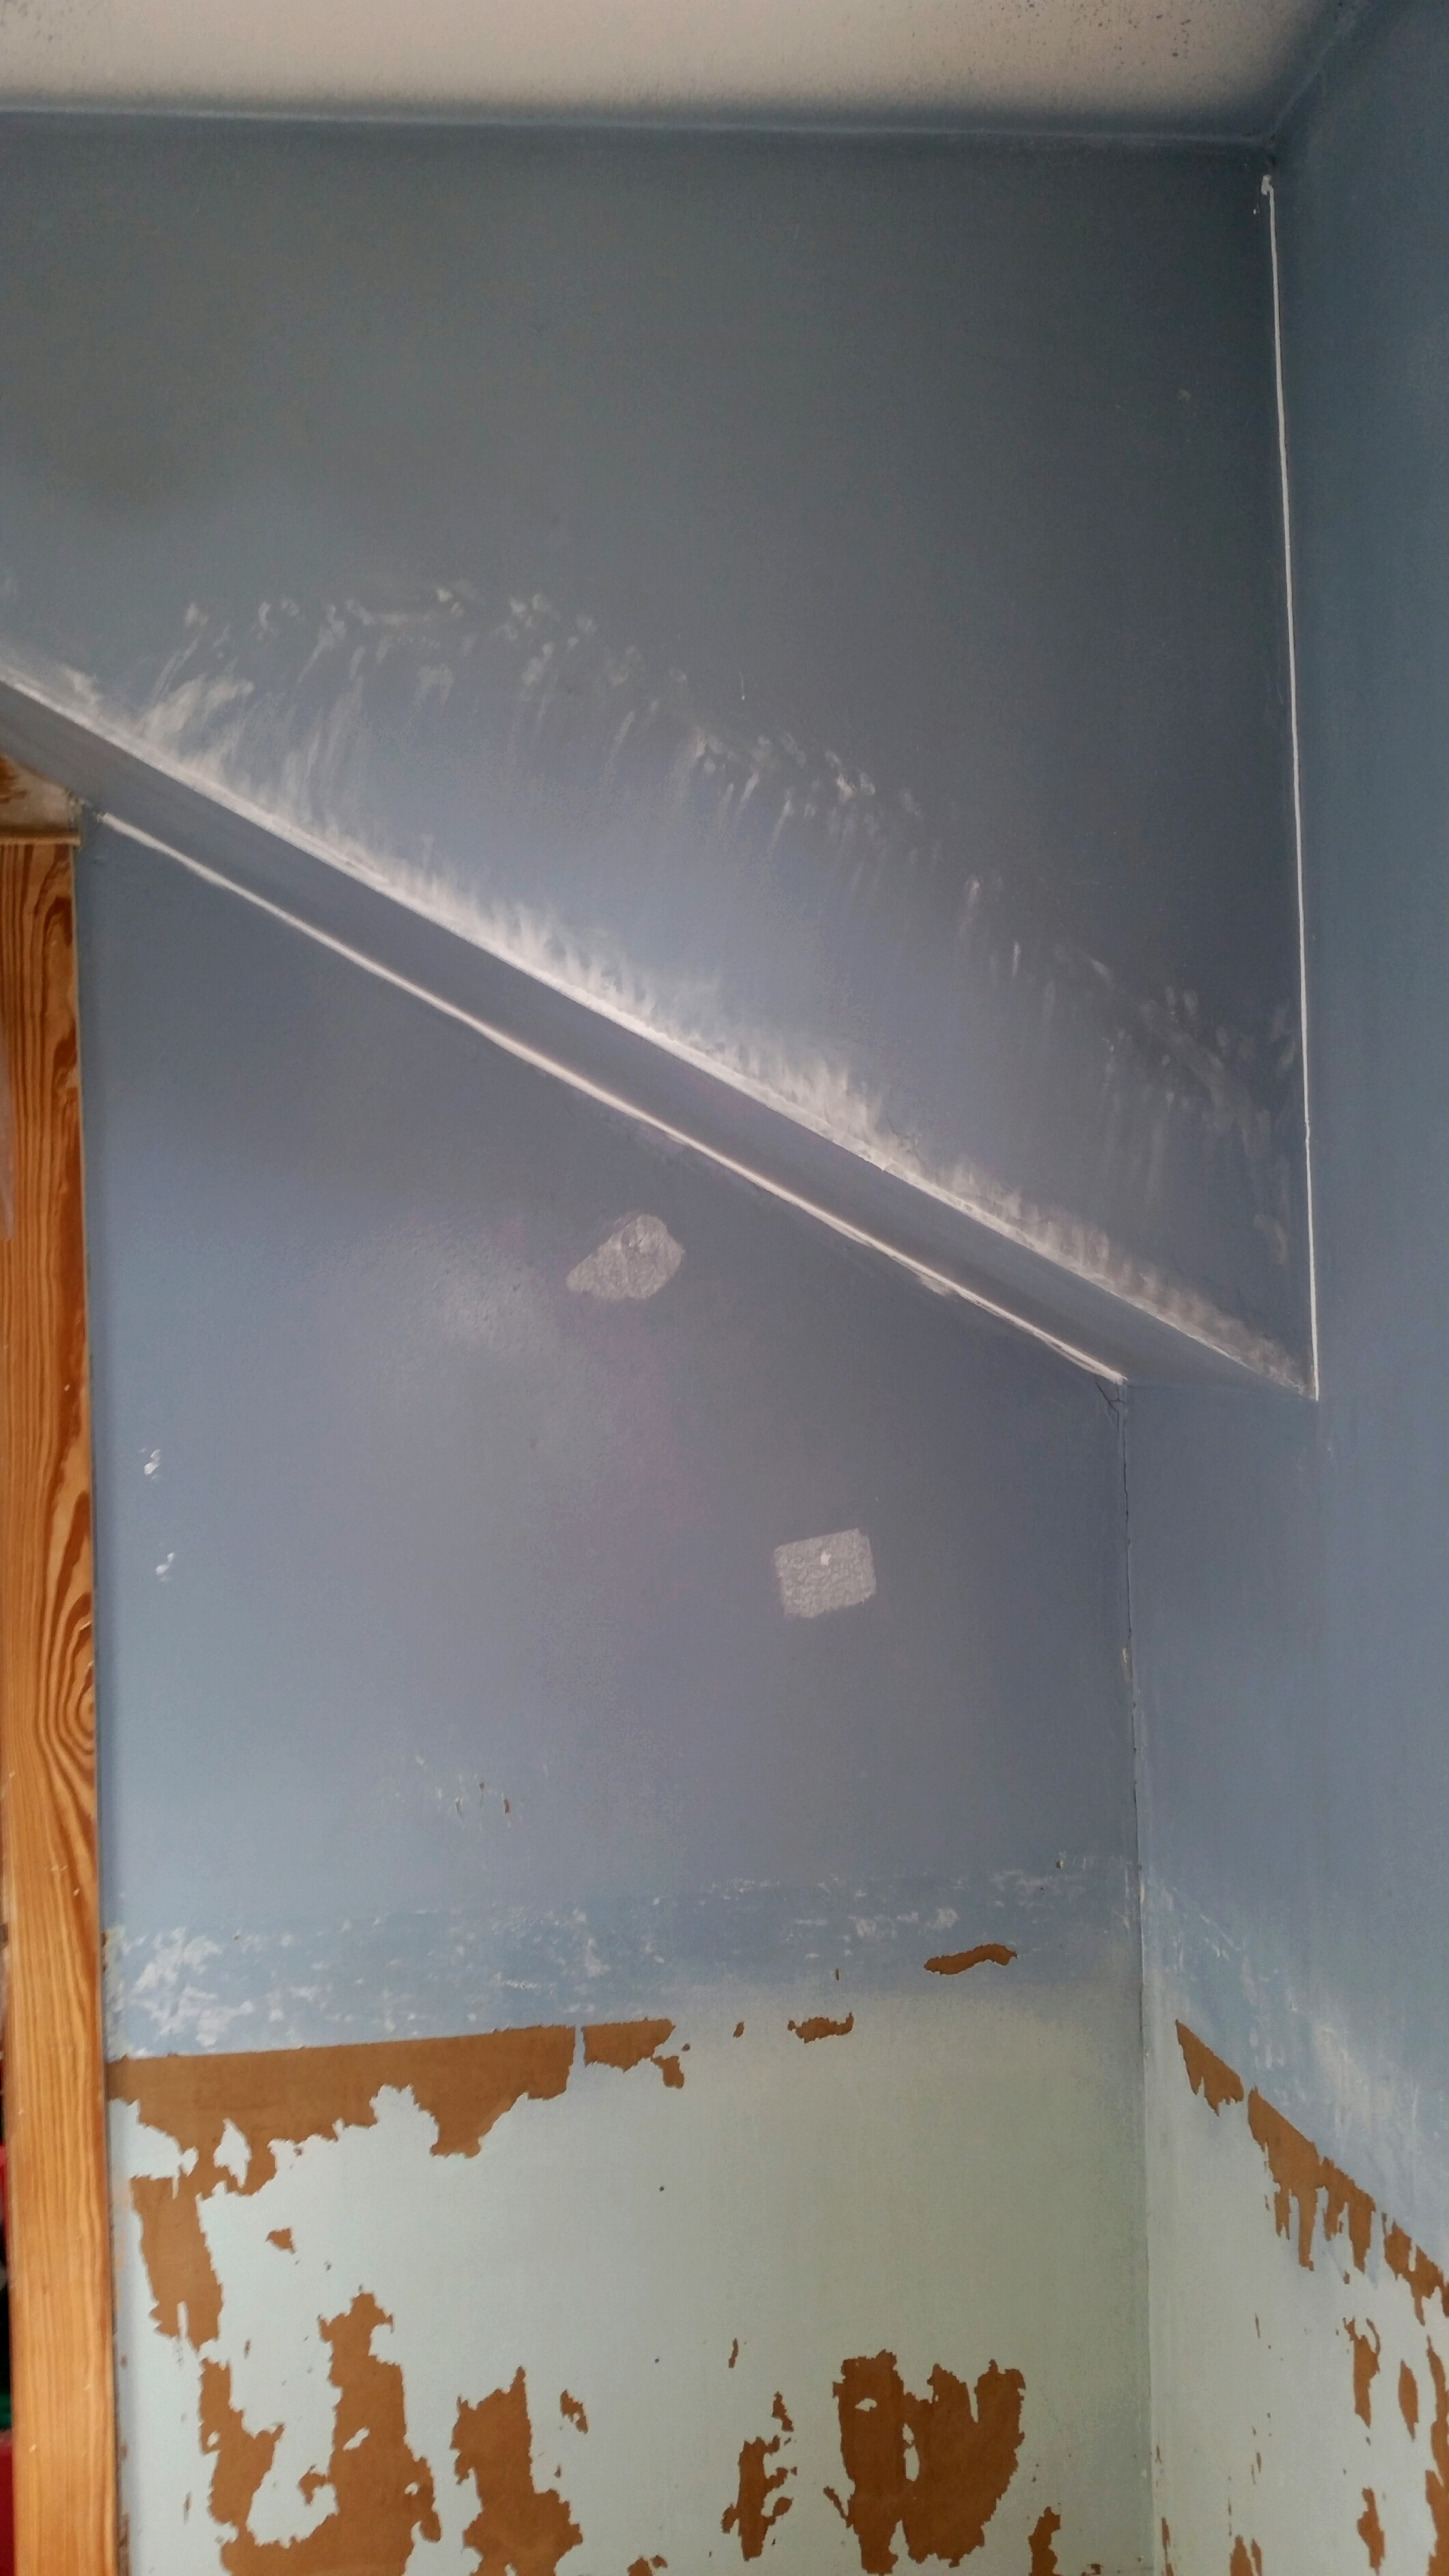
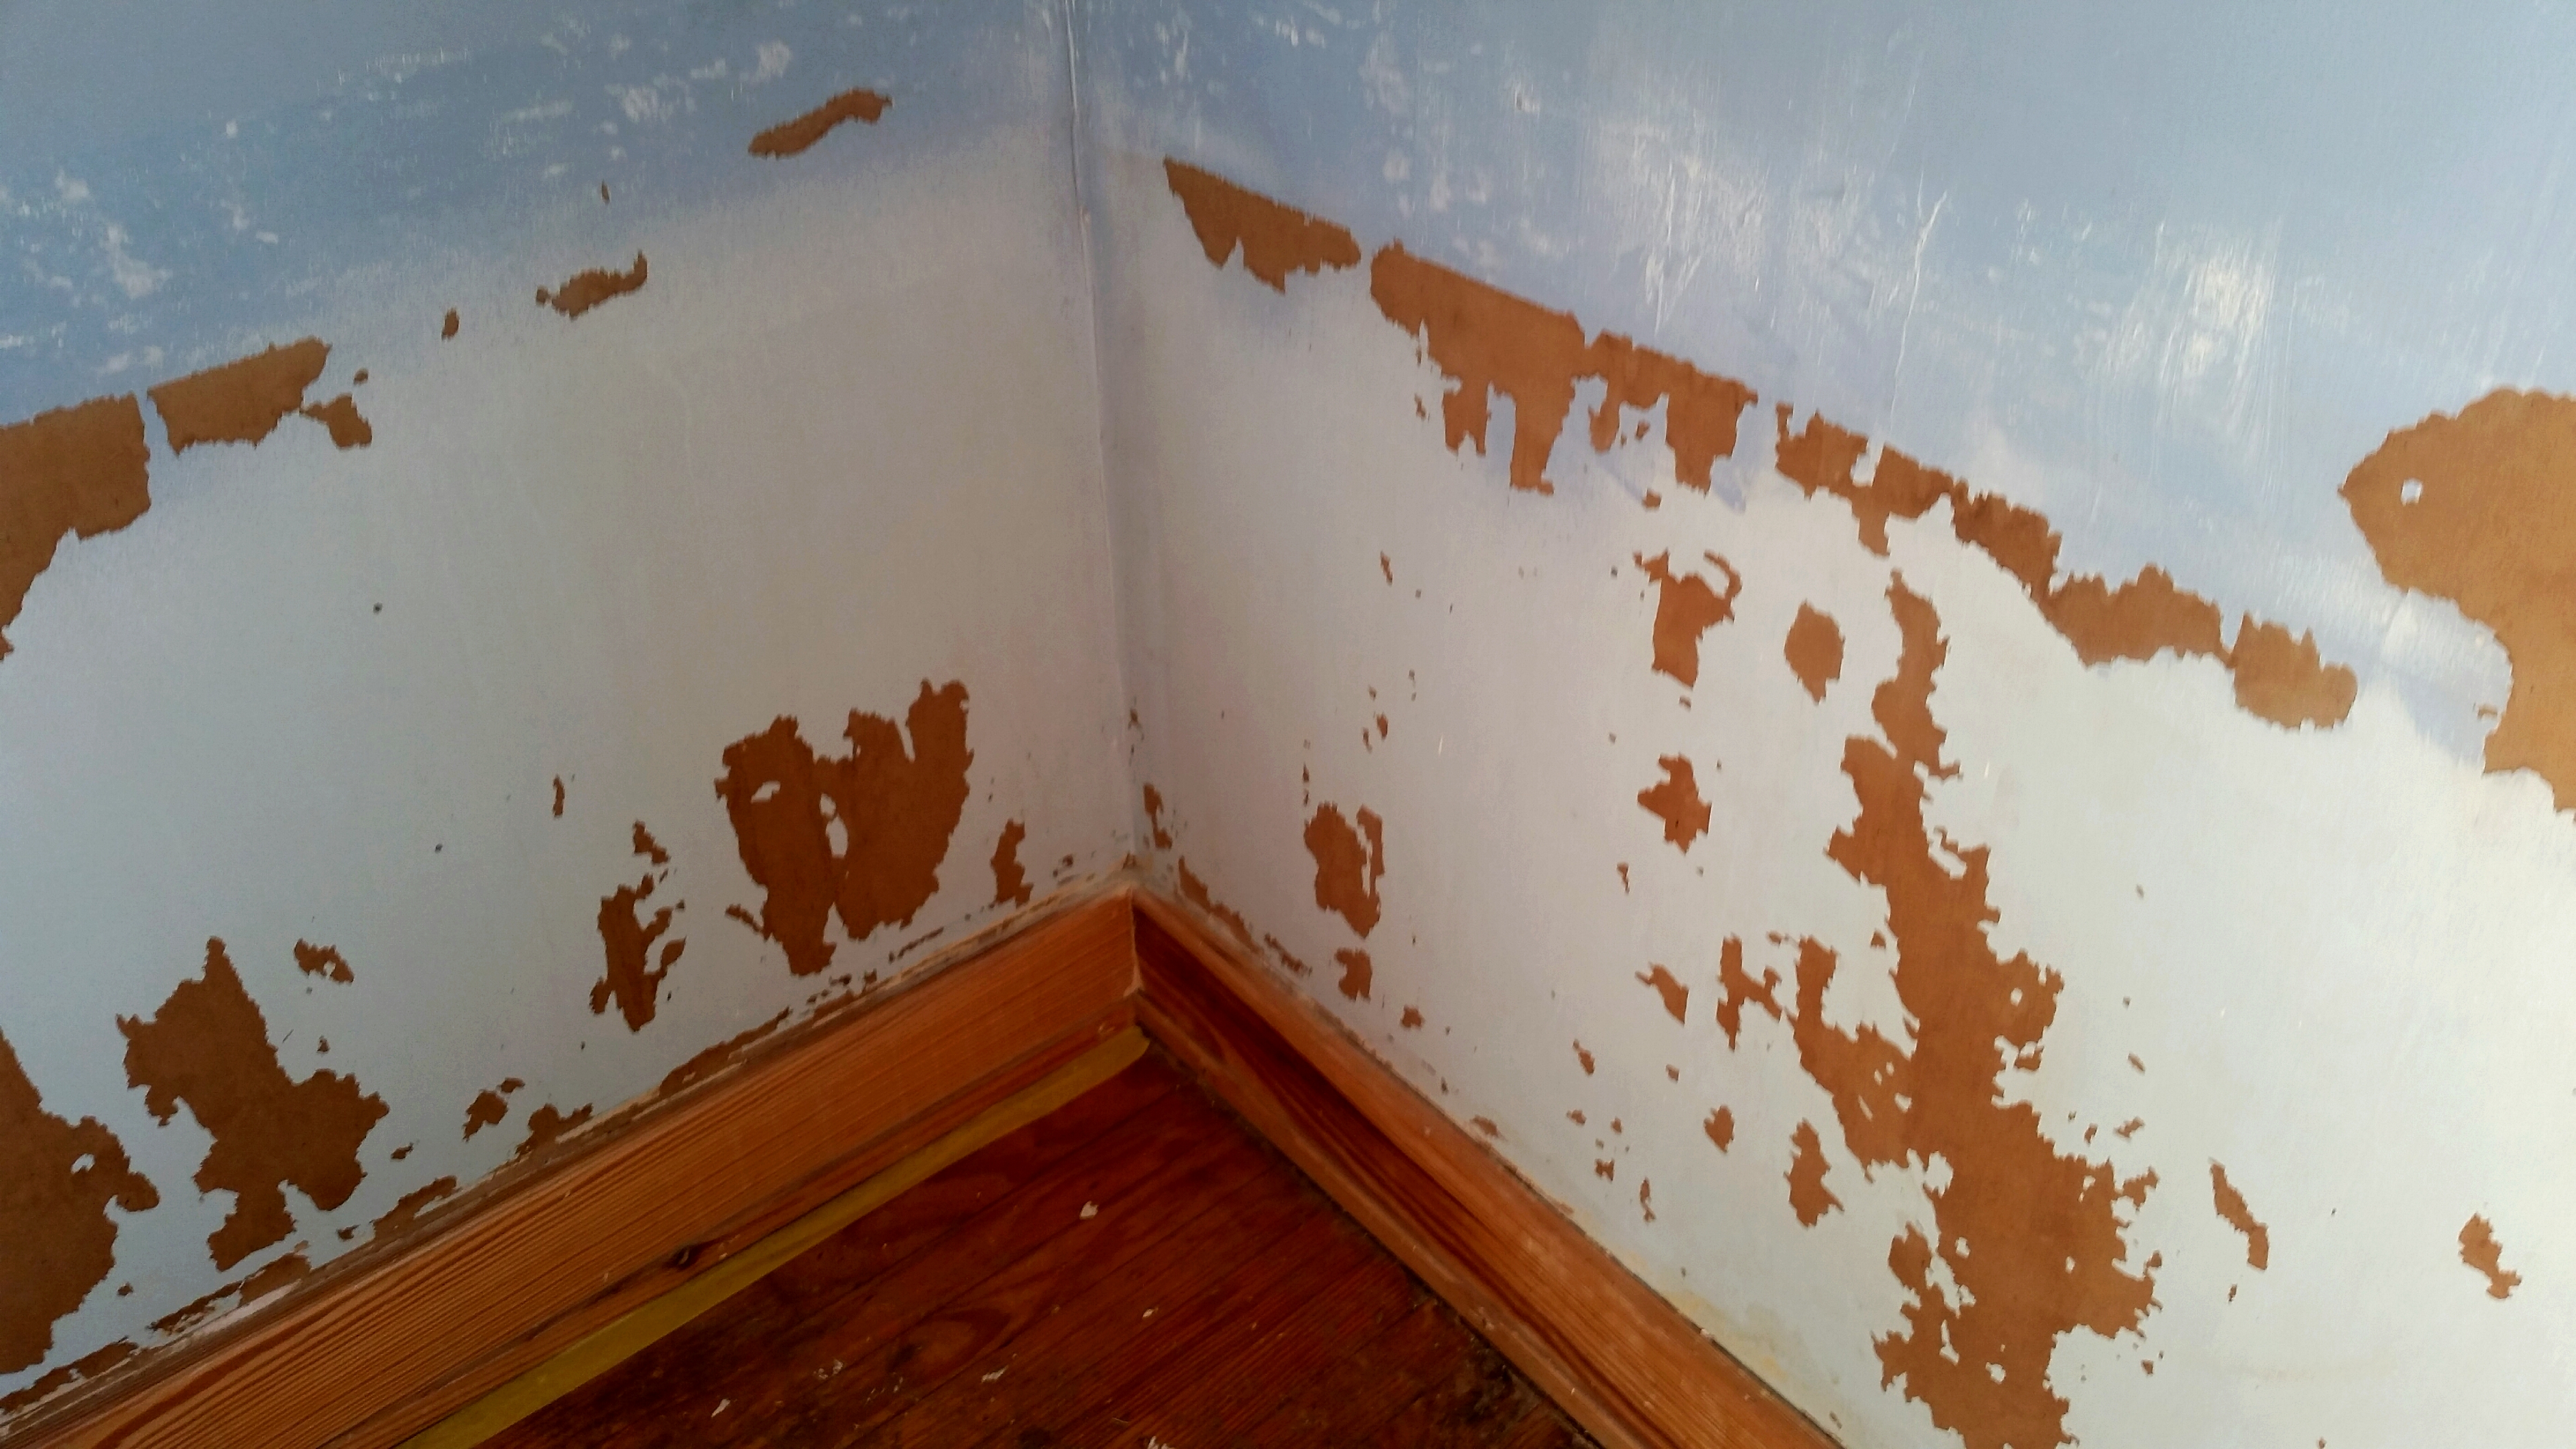
Wall Damage was excessive. Drywall had been torn through to the brown backing paper, which will bubble and be destroyed if not primed properly before any other action is taken
As is often the case, removal of wallpaper caused severe damage to the walls. In many areas, the drywall was torn all the way down to the brown backing paper. This type of damage can be fixed, but requires that the torn areas MUST be sealed with shellac or oil-based primer before ANY latex / water based products are applied. (If regular paint hits an area like this, it often bubbles, and makes the repair process twice as difficult.) We therefore applied shellac to every inch of wall and ceiling surface, as well as all the dark wood trim. This allowed us to efficiently seal the entire room for a worry free paint application later.
Cats, Cats, Cats- Our clients own several fuzzy little friends. Unfortunately for us as painters, fuzzy friends are also OILY friends. Oils from the fur of cats are very difficult to remove for painters.
We need to make sure that our paint binds properly to all surfaces- but especially to those area such as trim, which are prone to being bumped and can be damaged. We used Krud Kutter to remove all oils from the surface before applying shellac primer to seal the dark tannins in the wood from coming through our latex paint final layer
Deep Floor and Ceiling Cracks
We used elastomeric filler to close cracks. We do this whenever we wish to seal a crack or other type of damage caused by settling of the home, but do not want to use rigid spackle and have the same area crack out a short time later. This caulk product stretches many times its size, and therefore will resist re-cracking much better than spackle.
Very short time frame for completion
It sounds counterintuitive, but a single room can often be a greater challenge to complete quickly than a two room paint job. This is because dry time becomes a huge factor. (When painting two rooms at once, one can bounce from room to room, painting one room, while fan drying the other.) While we had a full day plus a half day to complete this project, we were challenged by high humidity in the room, and very slow dry times even for our caulk and quick dry spackle- let alone for our latex paints. Thank Goodness for shellac-based primer – this product is alcohol based, and ready to paint over in about 60 minutes in even the worst conditions.
The Process: We began with butcher blocking and taping off the entire floor. This allowed us to apply shellac-based primer, which is extremely thin and spritzy, without any concern of getting it on the floor. It also allowed us to use oil-based spray primer, as needed, along the edges of trim. We also masked the windows to keep the glass clean while priming, and to speed up the paint process. We next used Krud Kutter to clean all trim areas to be painted. Then we caulked and filled all holes in the trim. Next, we used shellac to prime the entire room, including trim. As soon as the primer dried, (very quickly,) we began wall and ceiling spackle and elastomeric caulk repairs to wallpaper damaged areas, as well as to a large crack in the ceiling that required mesh tape to repair.
We then took a break for lunch while fan drying the entire room with two large fans. When we returned, we used our Festool Dustless Sanding HEPA VAC system to sand all patched areas, and re-patch any areas that needed a second patch. (Some deep patches sink in or crack from drying too quickly, and need a light finishing patch, which dries almost instantly with quick dry spackle.) We finished these areas, then applied paint alternately to the ceiling, walls, and trim. The first coat on walls was completed on day one, and the 2nd wall coat and all trim was painted on day two.
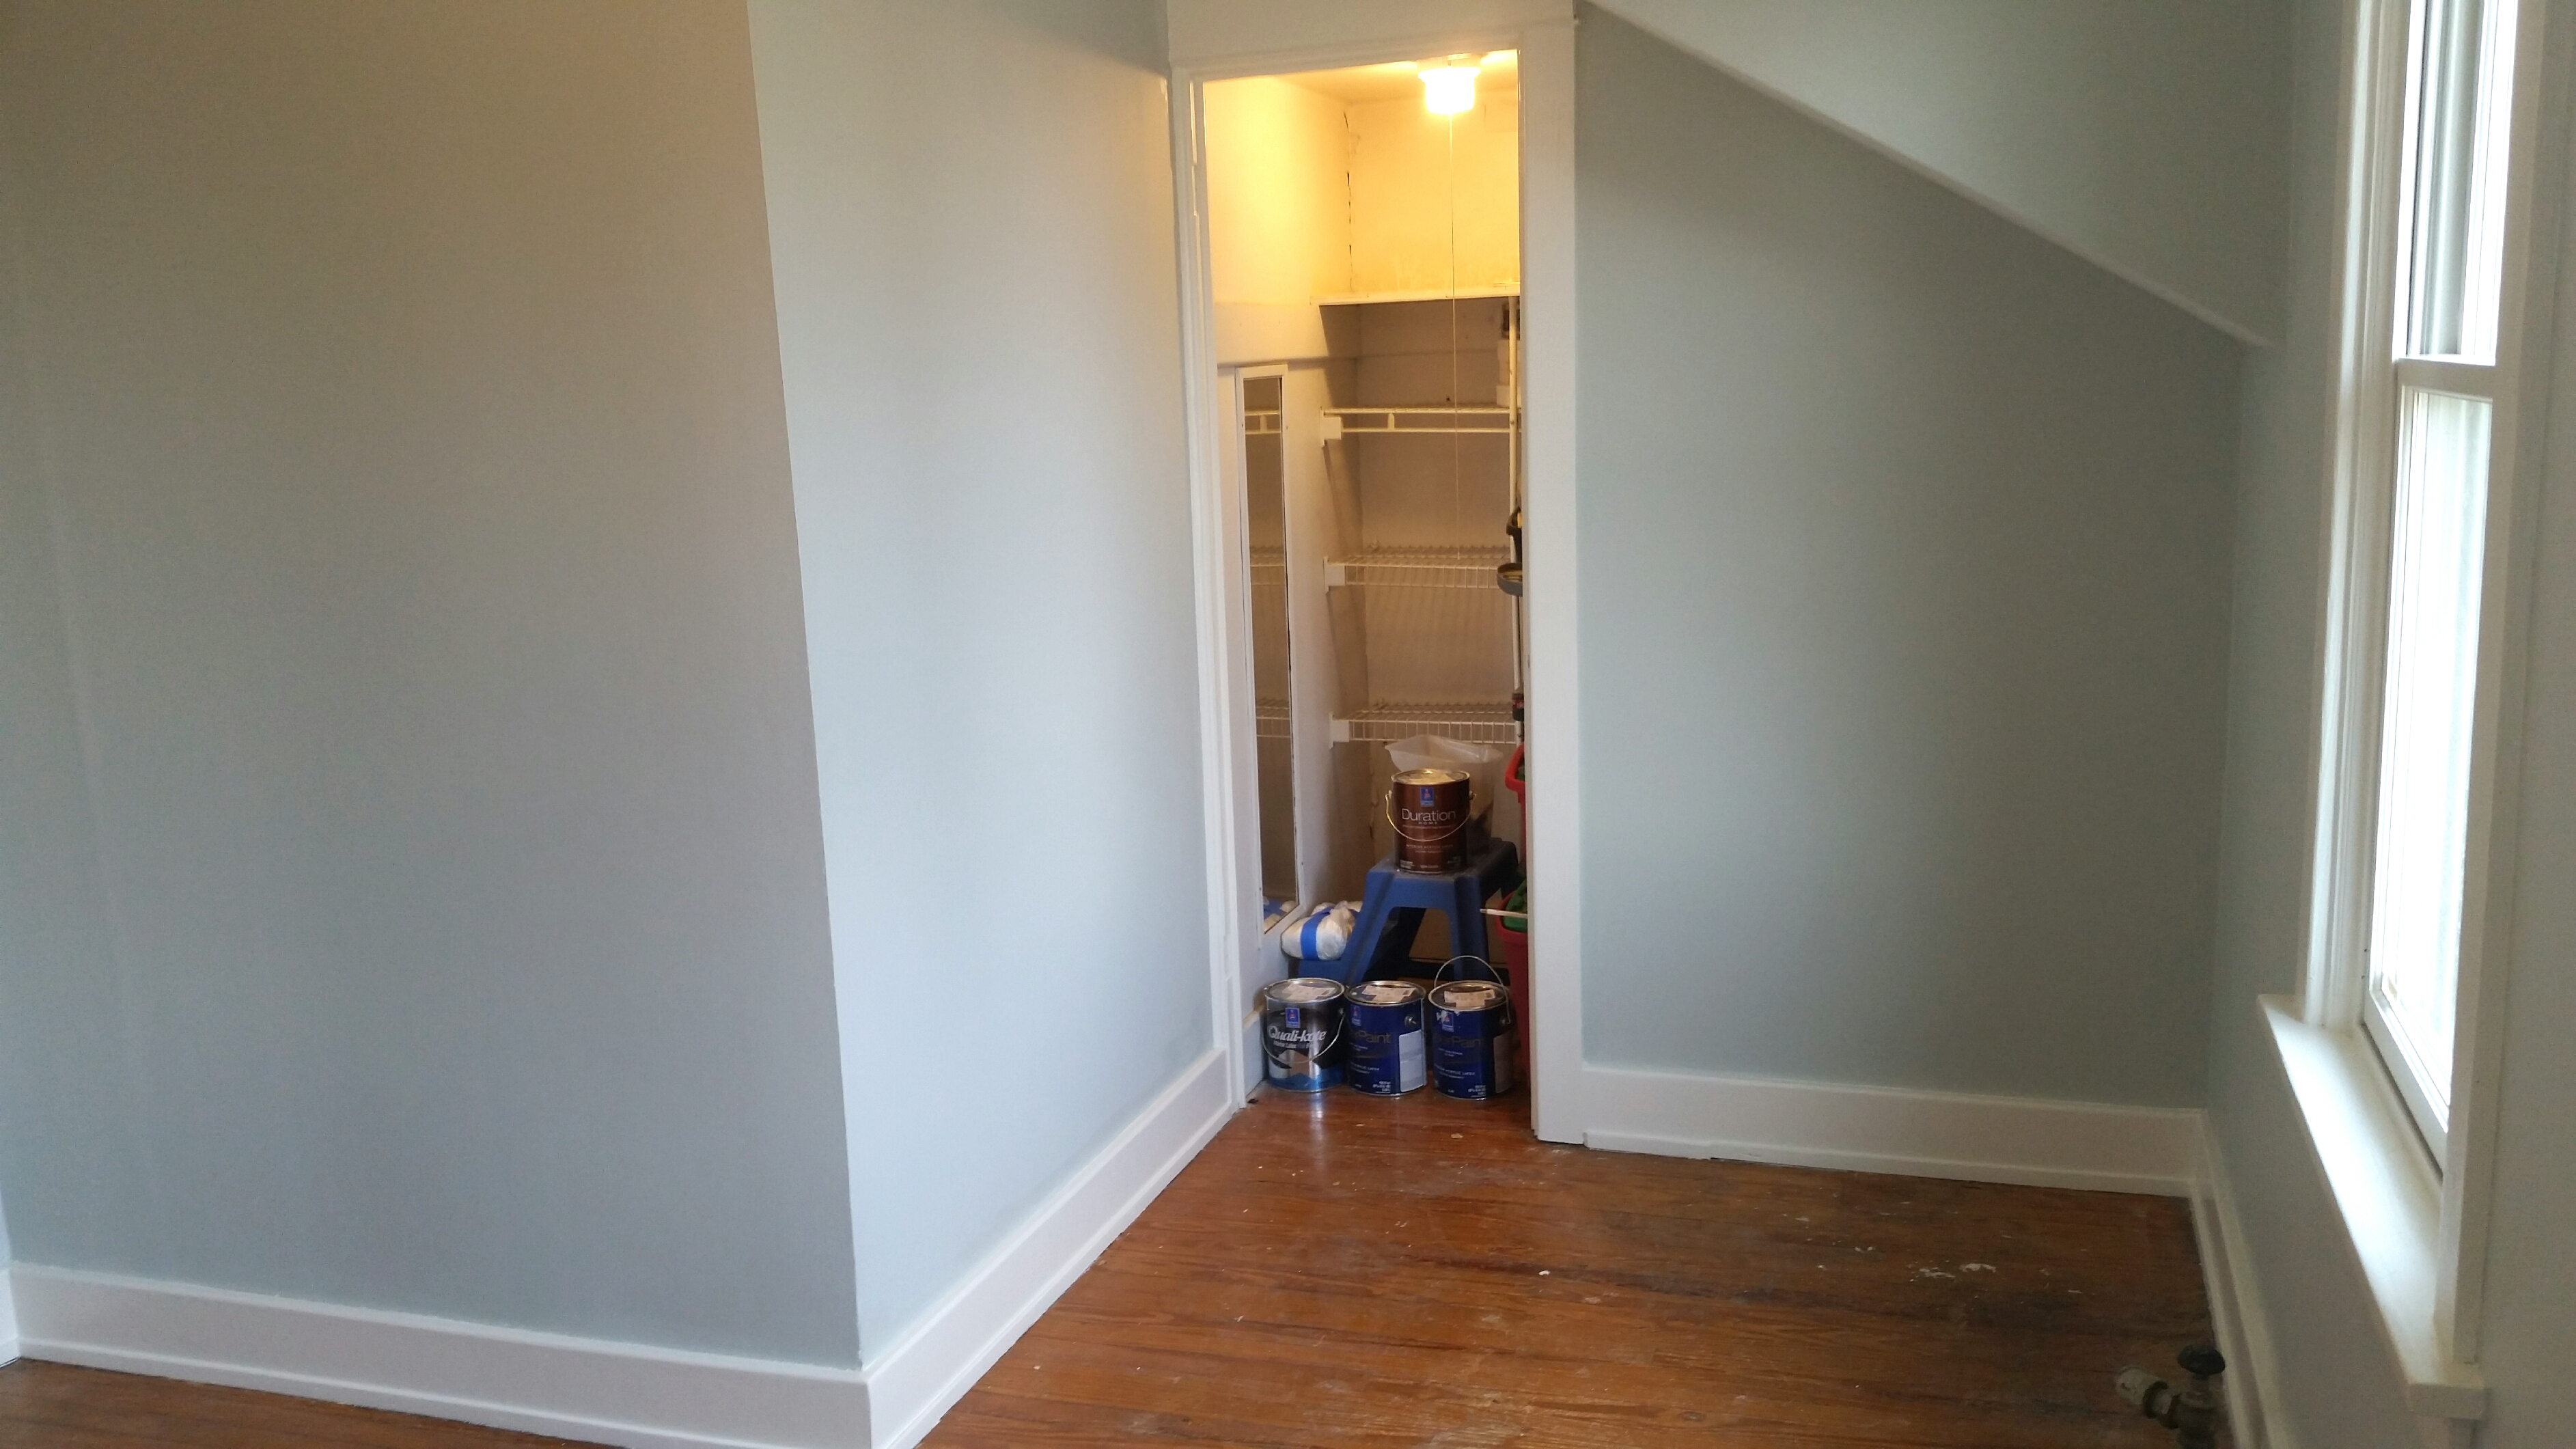
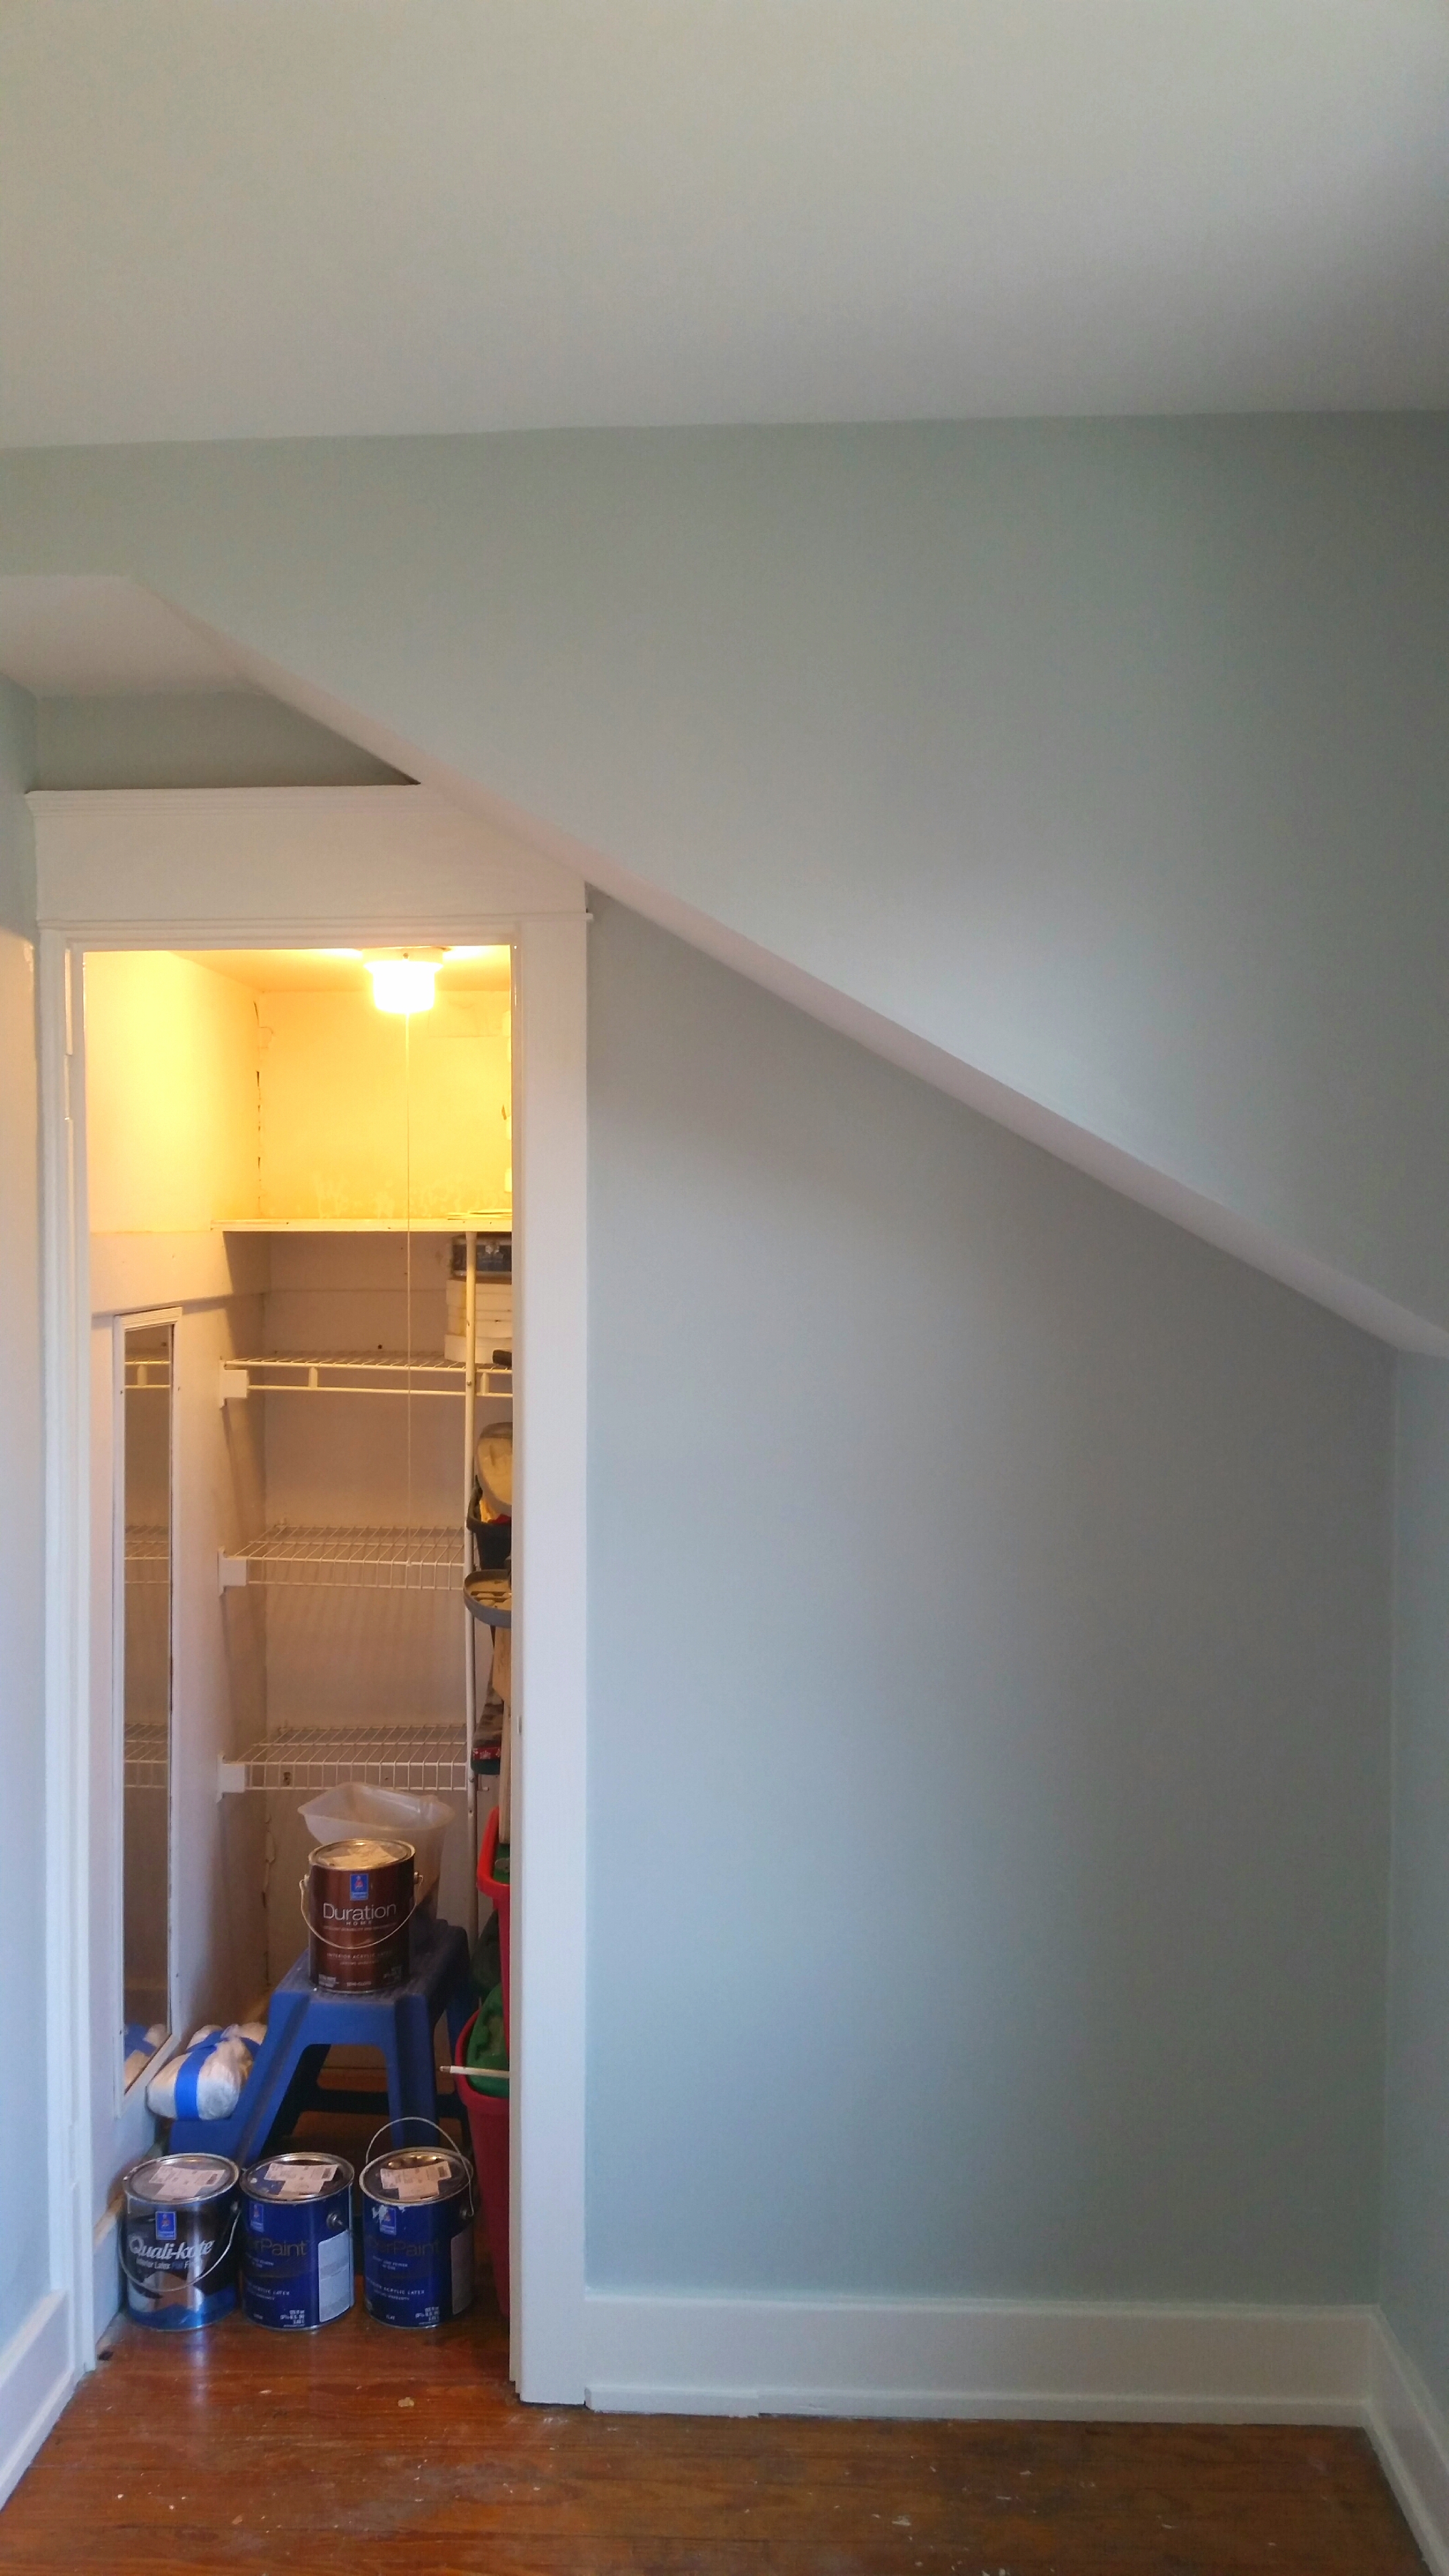
The Result: Our final product was pleasing to us, and much more important, our client was very happy with the work! This was a job that had become stressful for him. Not to sound too cheesy, we really enjoy coming in and “saving the day,” and seeing our client happy. (Actually, besides from a love of painting, that is the PRIMARY reason we do this job.) We were amazed at the amount of change to this room in such a short period of time, as the photos indicate much better than words can describe!
By W. Grant Tankersley for Just Add Paint


