Project Profile Farmhouse Restoration January 2016
Ditchen’ Ye Old Kitchen: Farmhouse Kitchen Remodel – Making painting ideas come to life
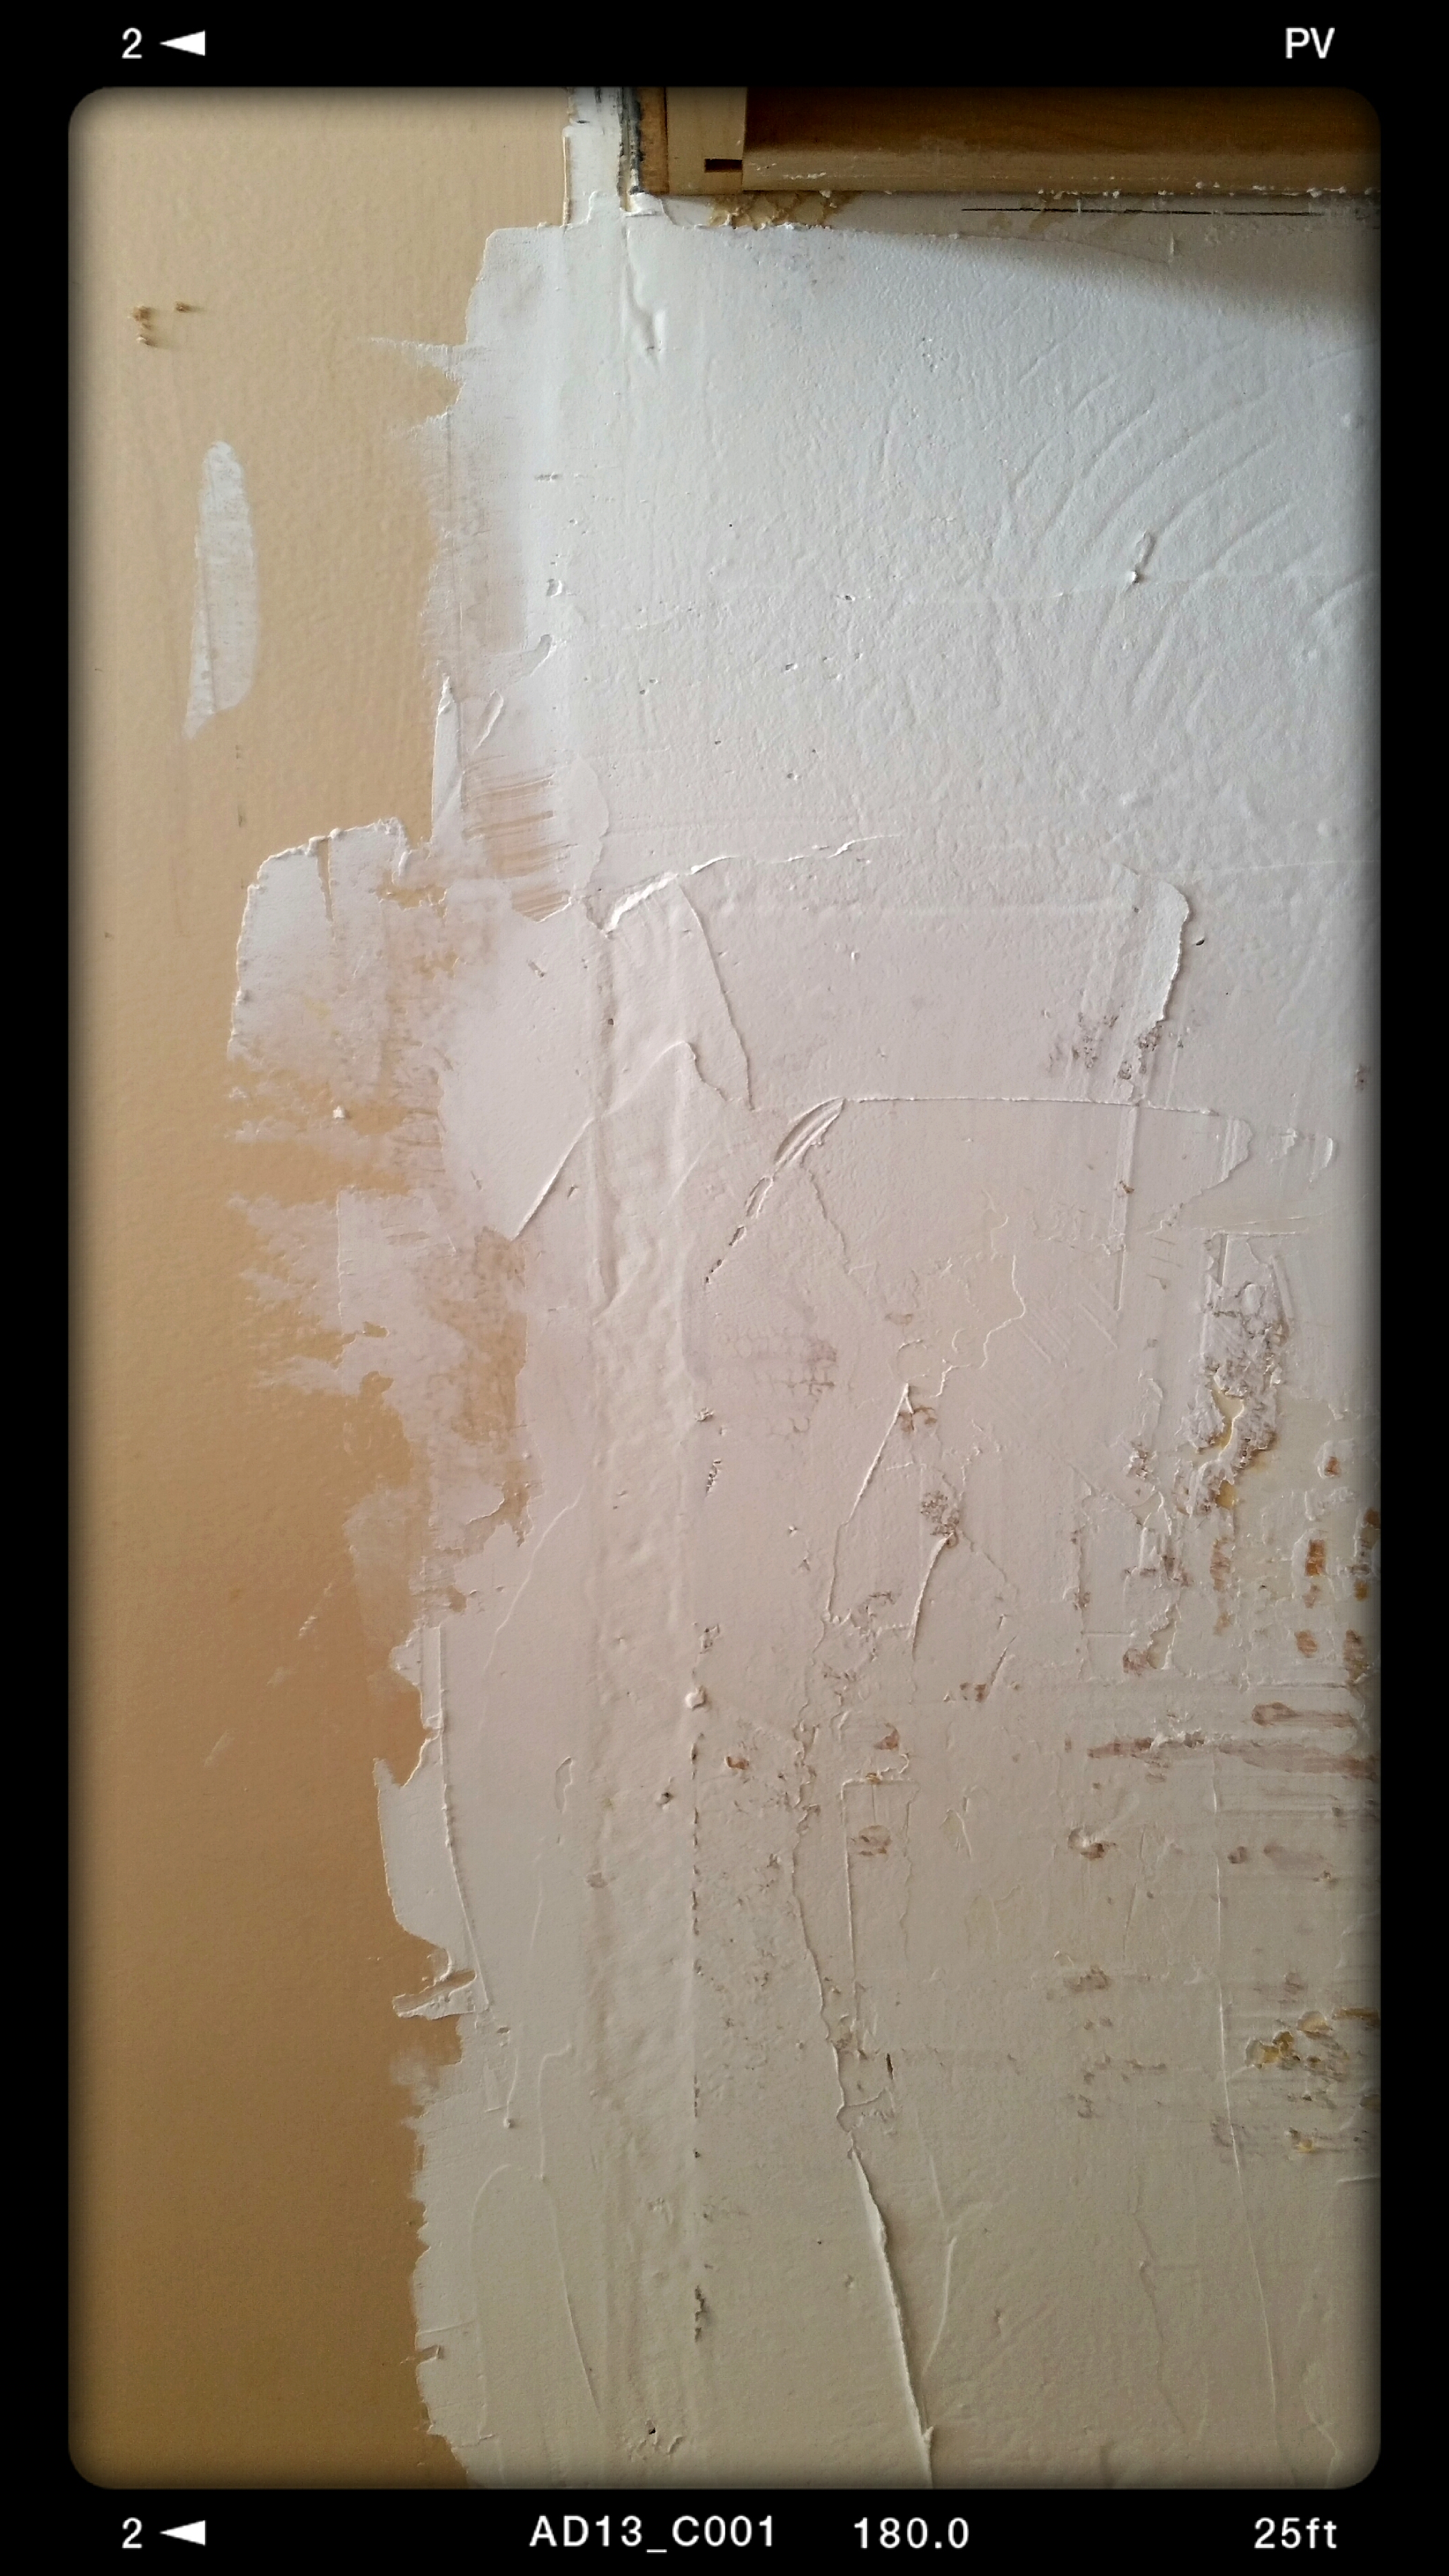
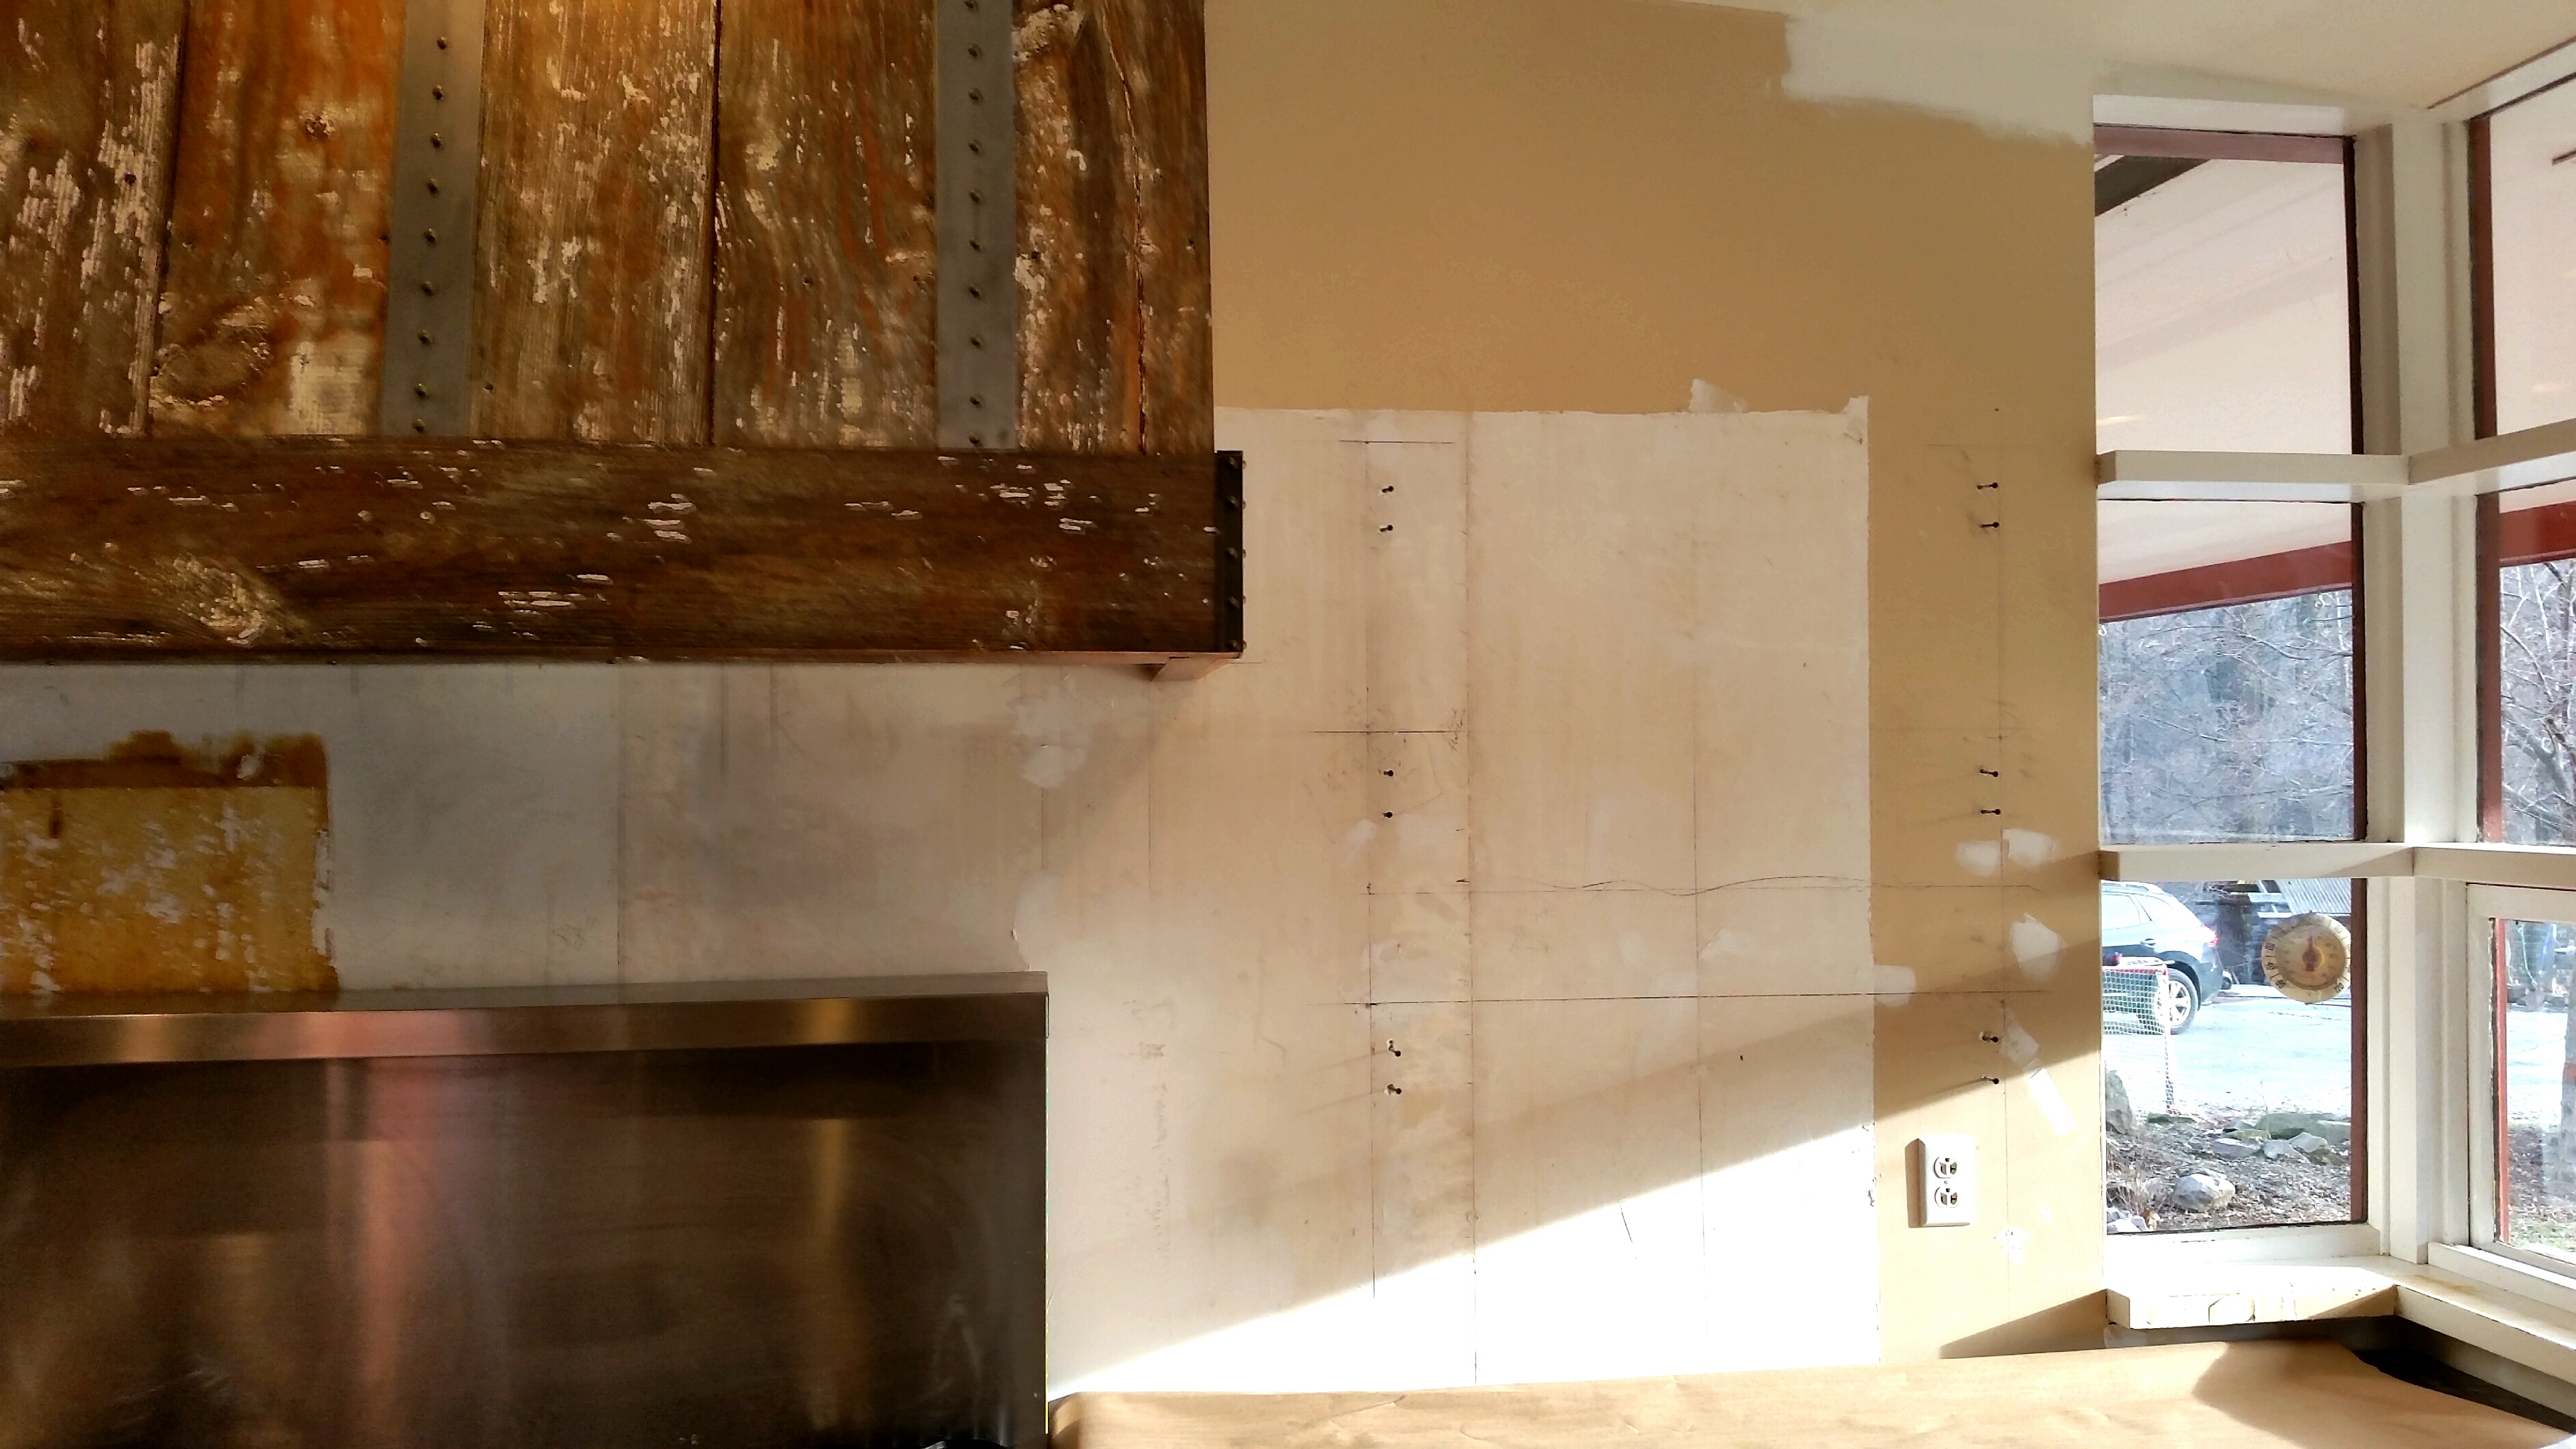
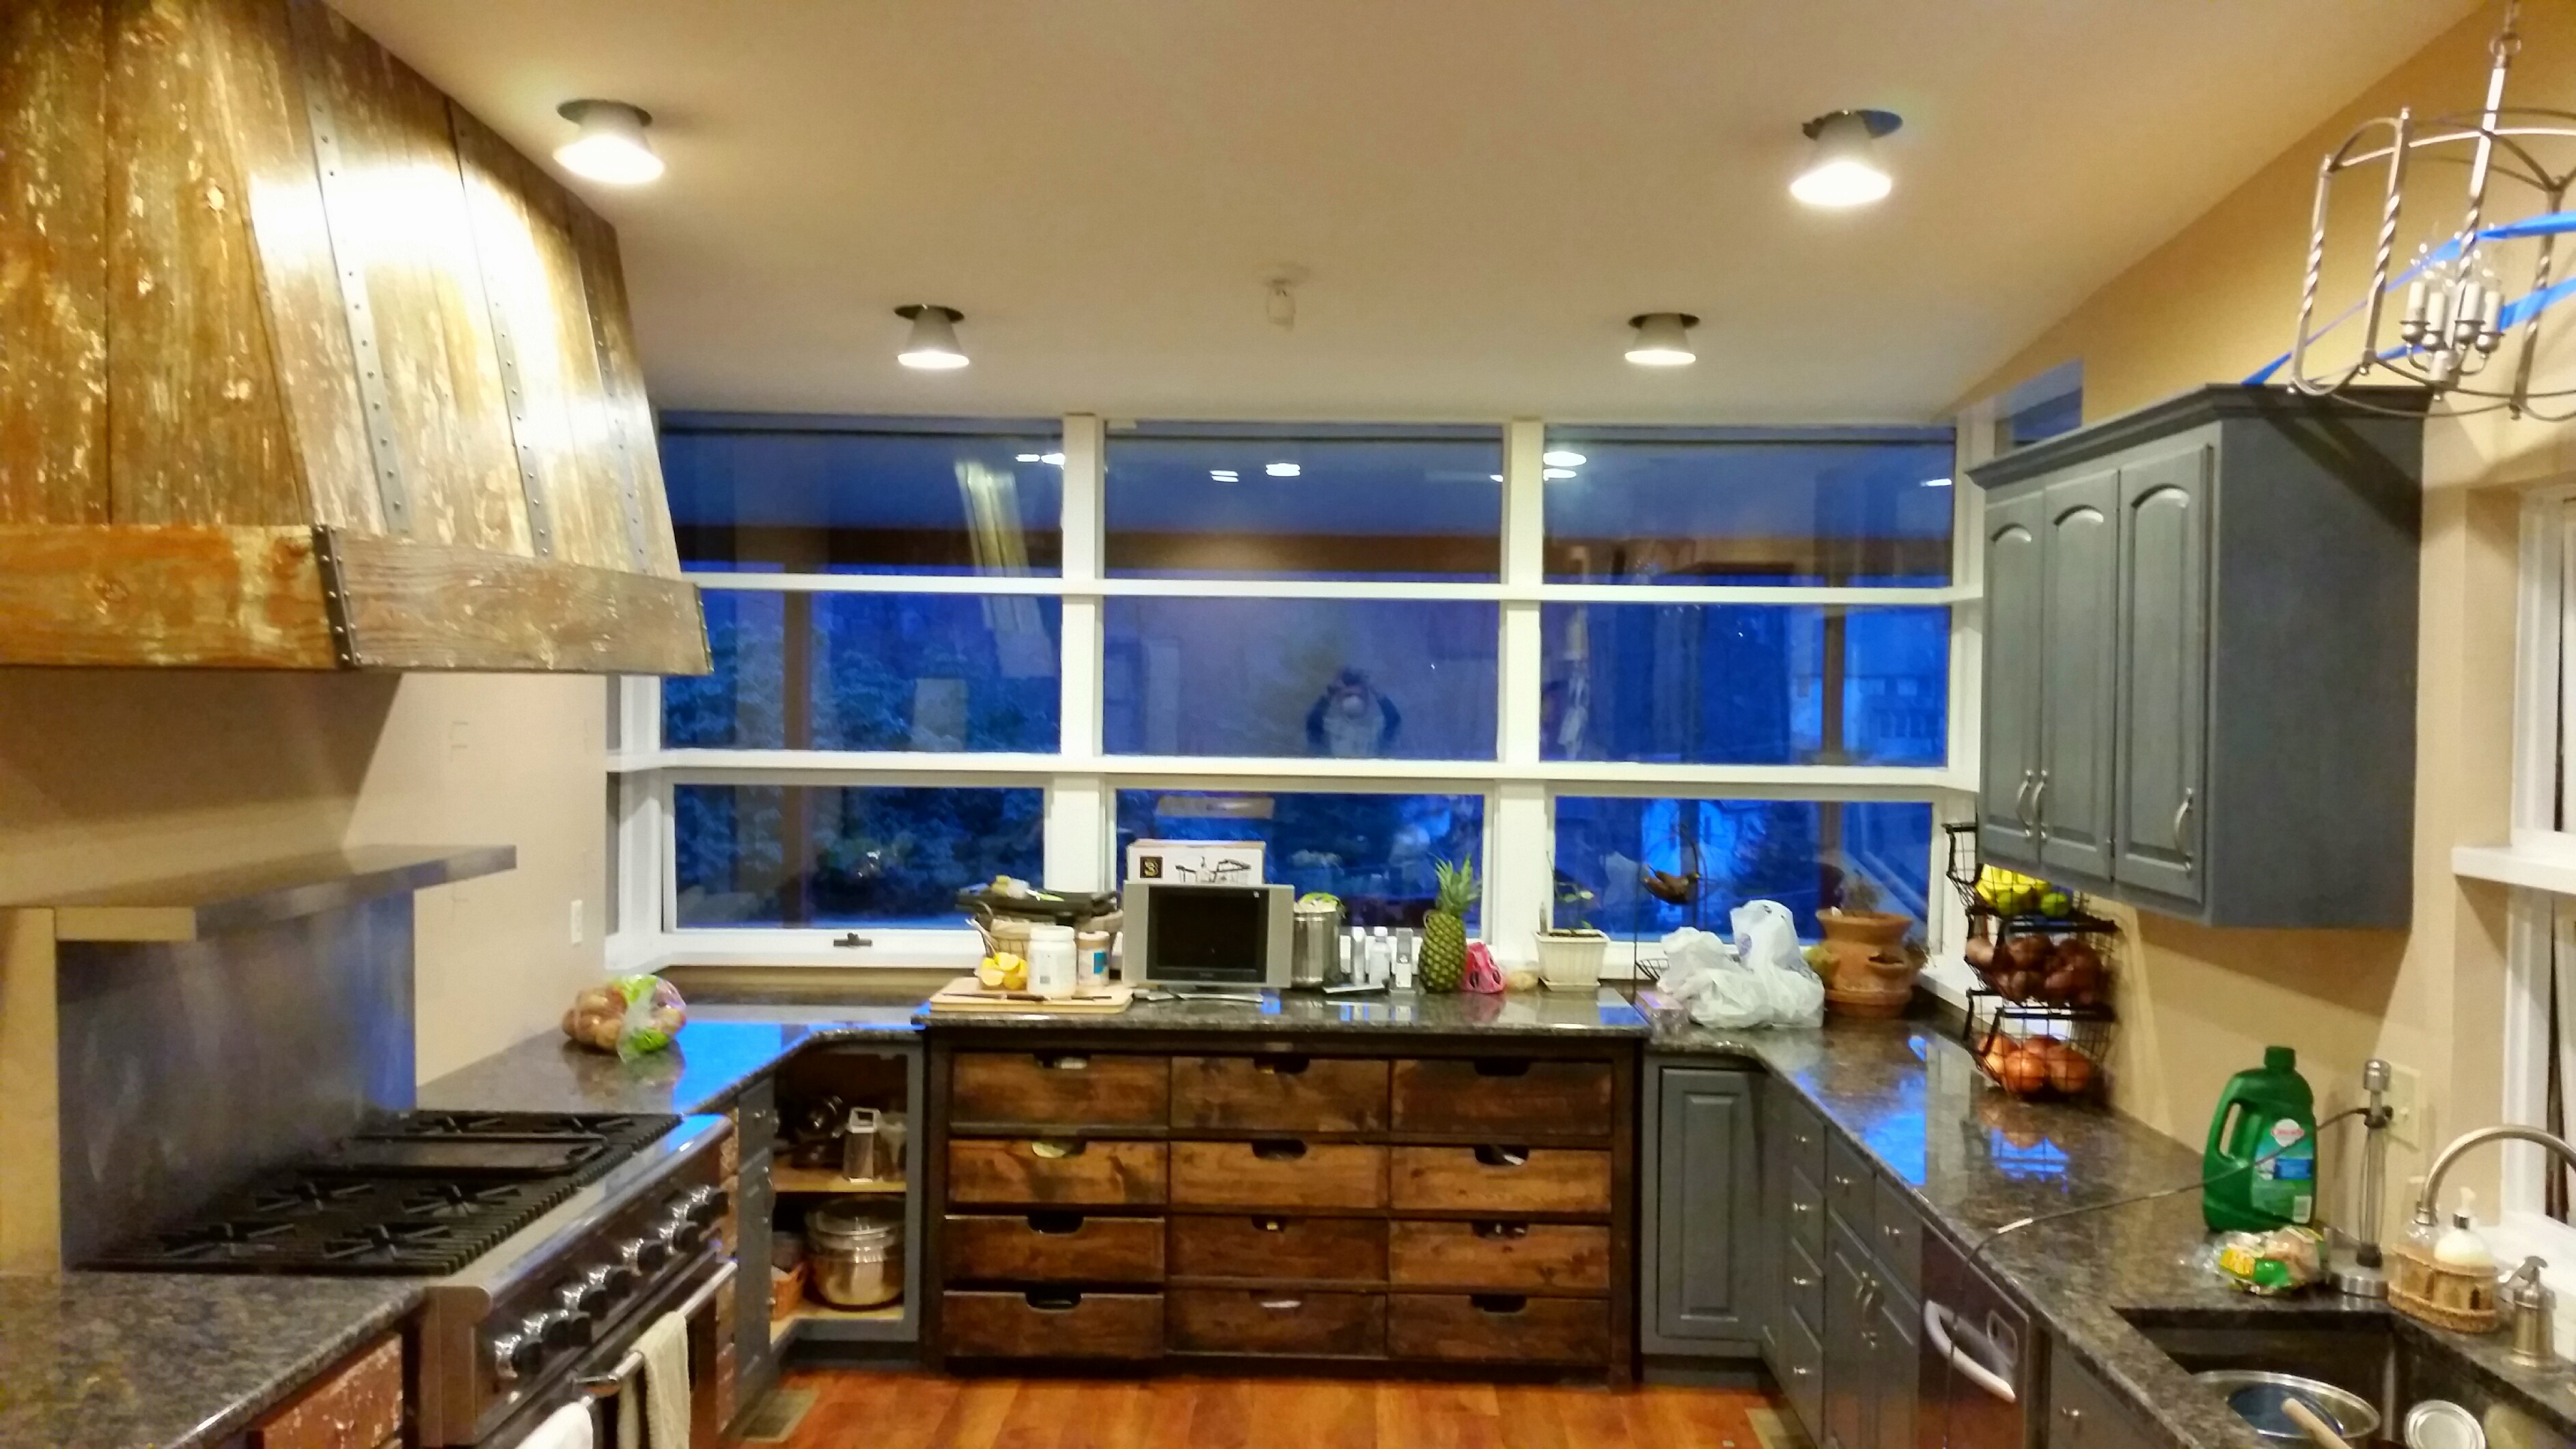
Reason for Client Contact: This is a BEAUTIFUL sprawling ranch style farmhouse. The family has done a huge amount of work on their kitchen remodel themselves, and as people with 40 hour per week jobs, they decided it was time to let someone else handle the rest of the project! The client was well on their way to a gorgeous, rustic kitchen, but had stalled out before the final drywall / finishing work. They removed a backsplash and found a horrifying amount of glue and wall damage. While they were planning on installing a new backsplash, the damage was so severe that it needed to be addressed before they could even continue with the installation. This, combined with a HUGE ceiling to roll and rough walls, and they decided it was time for some help. That is why we received a call to bring their painting ideas to life – and we were glad we did!
Services to be Utilized in Kitchen Remodel:
Darn Near Everything
Frog Tape Yellow (Delicate Surface) applied in along all Counter Edges
Butcher Block paper rolled over all countertops and secured to yellow tape
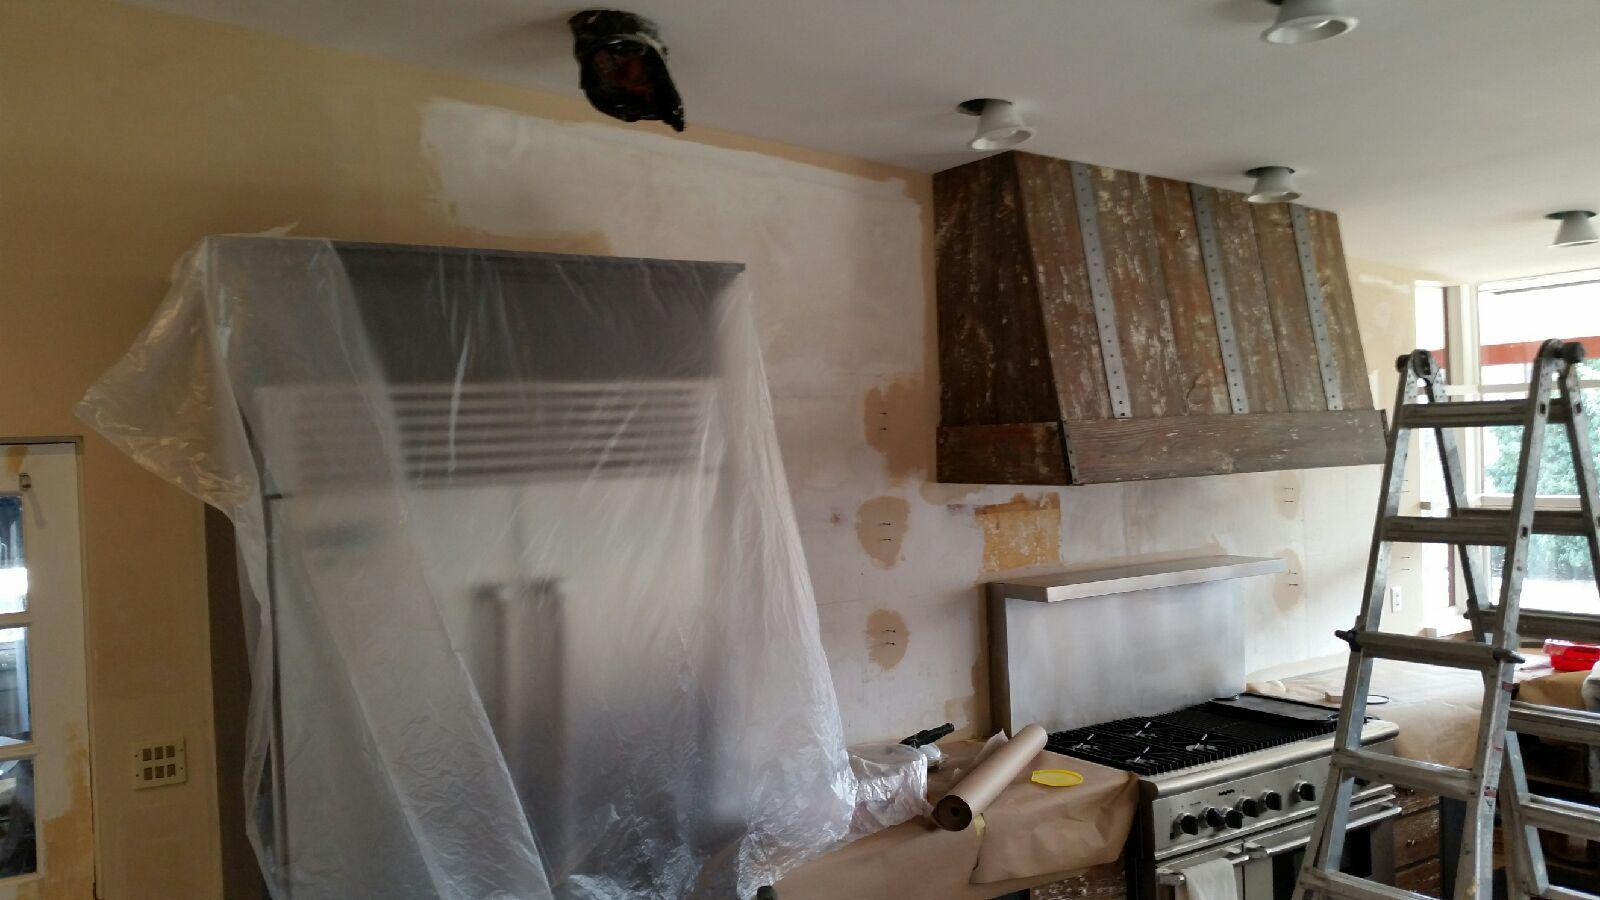
Plastic draping applied to all overhanging surfaces for paint spritz protection
Drop Cloth covering for all hardwood floor areas
Quick Dry spackle to be used for all ceiling / wall patching and trim hole filling
Sherwin Williams Sher-Flex Caulk used to finish newly installed trim
HEPA Certified Festool Dustless Sanding/Vacuum System used with Grinder Pads (Festool Rotex and RTS 400 Orbital) to remove old backdrop glue, and for all sanding of newly spackled areas
Oil-Based Spray primer applied to grease, glue, and patch areas as needed to ensure paint adhesion
Microfiber Roller Covers, (Purdy and Arroworthy,) were used for all walls and on trim, when rolling was possible- such as on doors and wide window trim.)
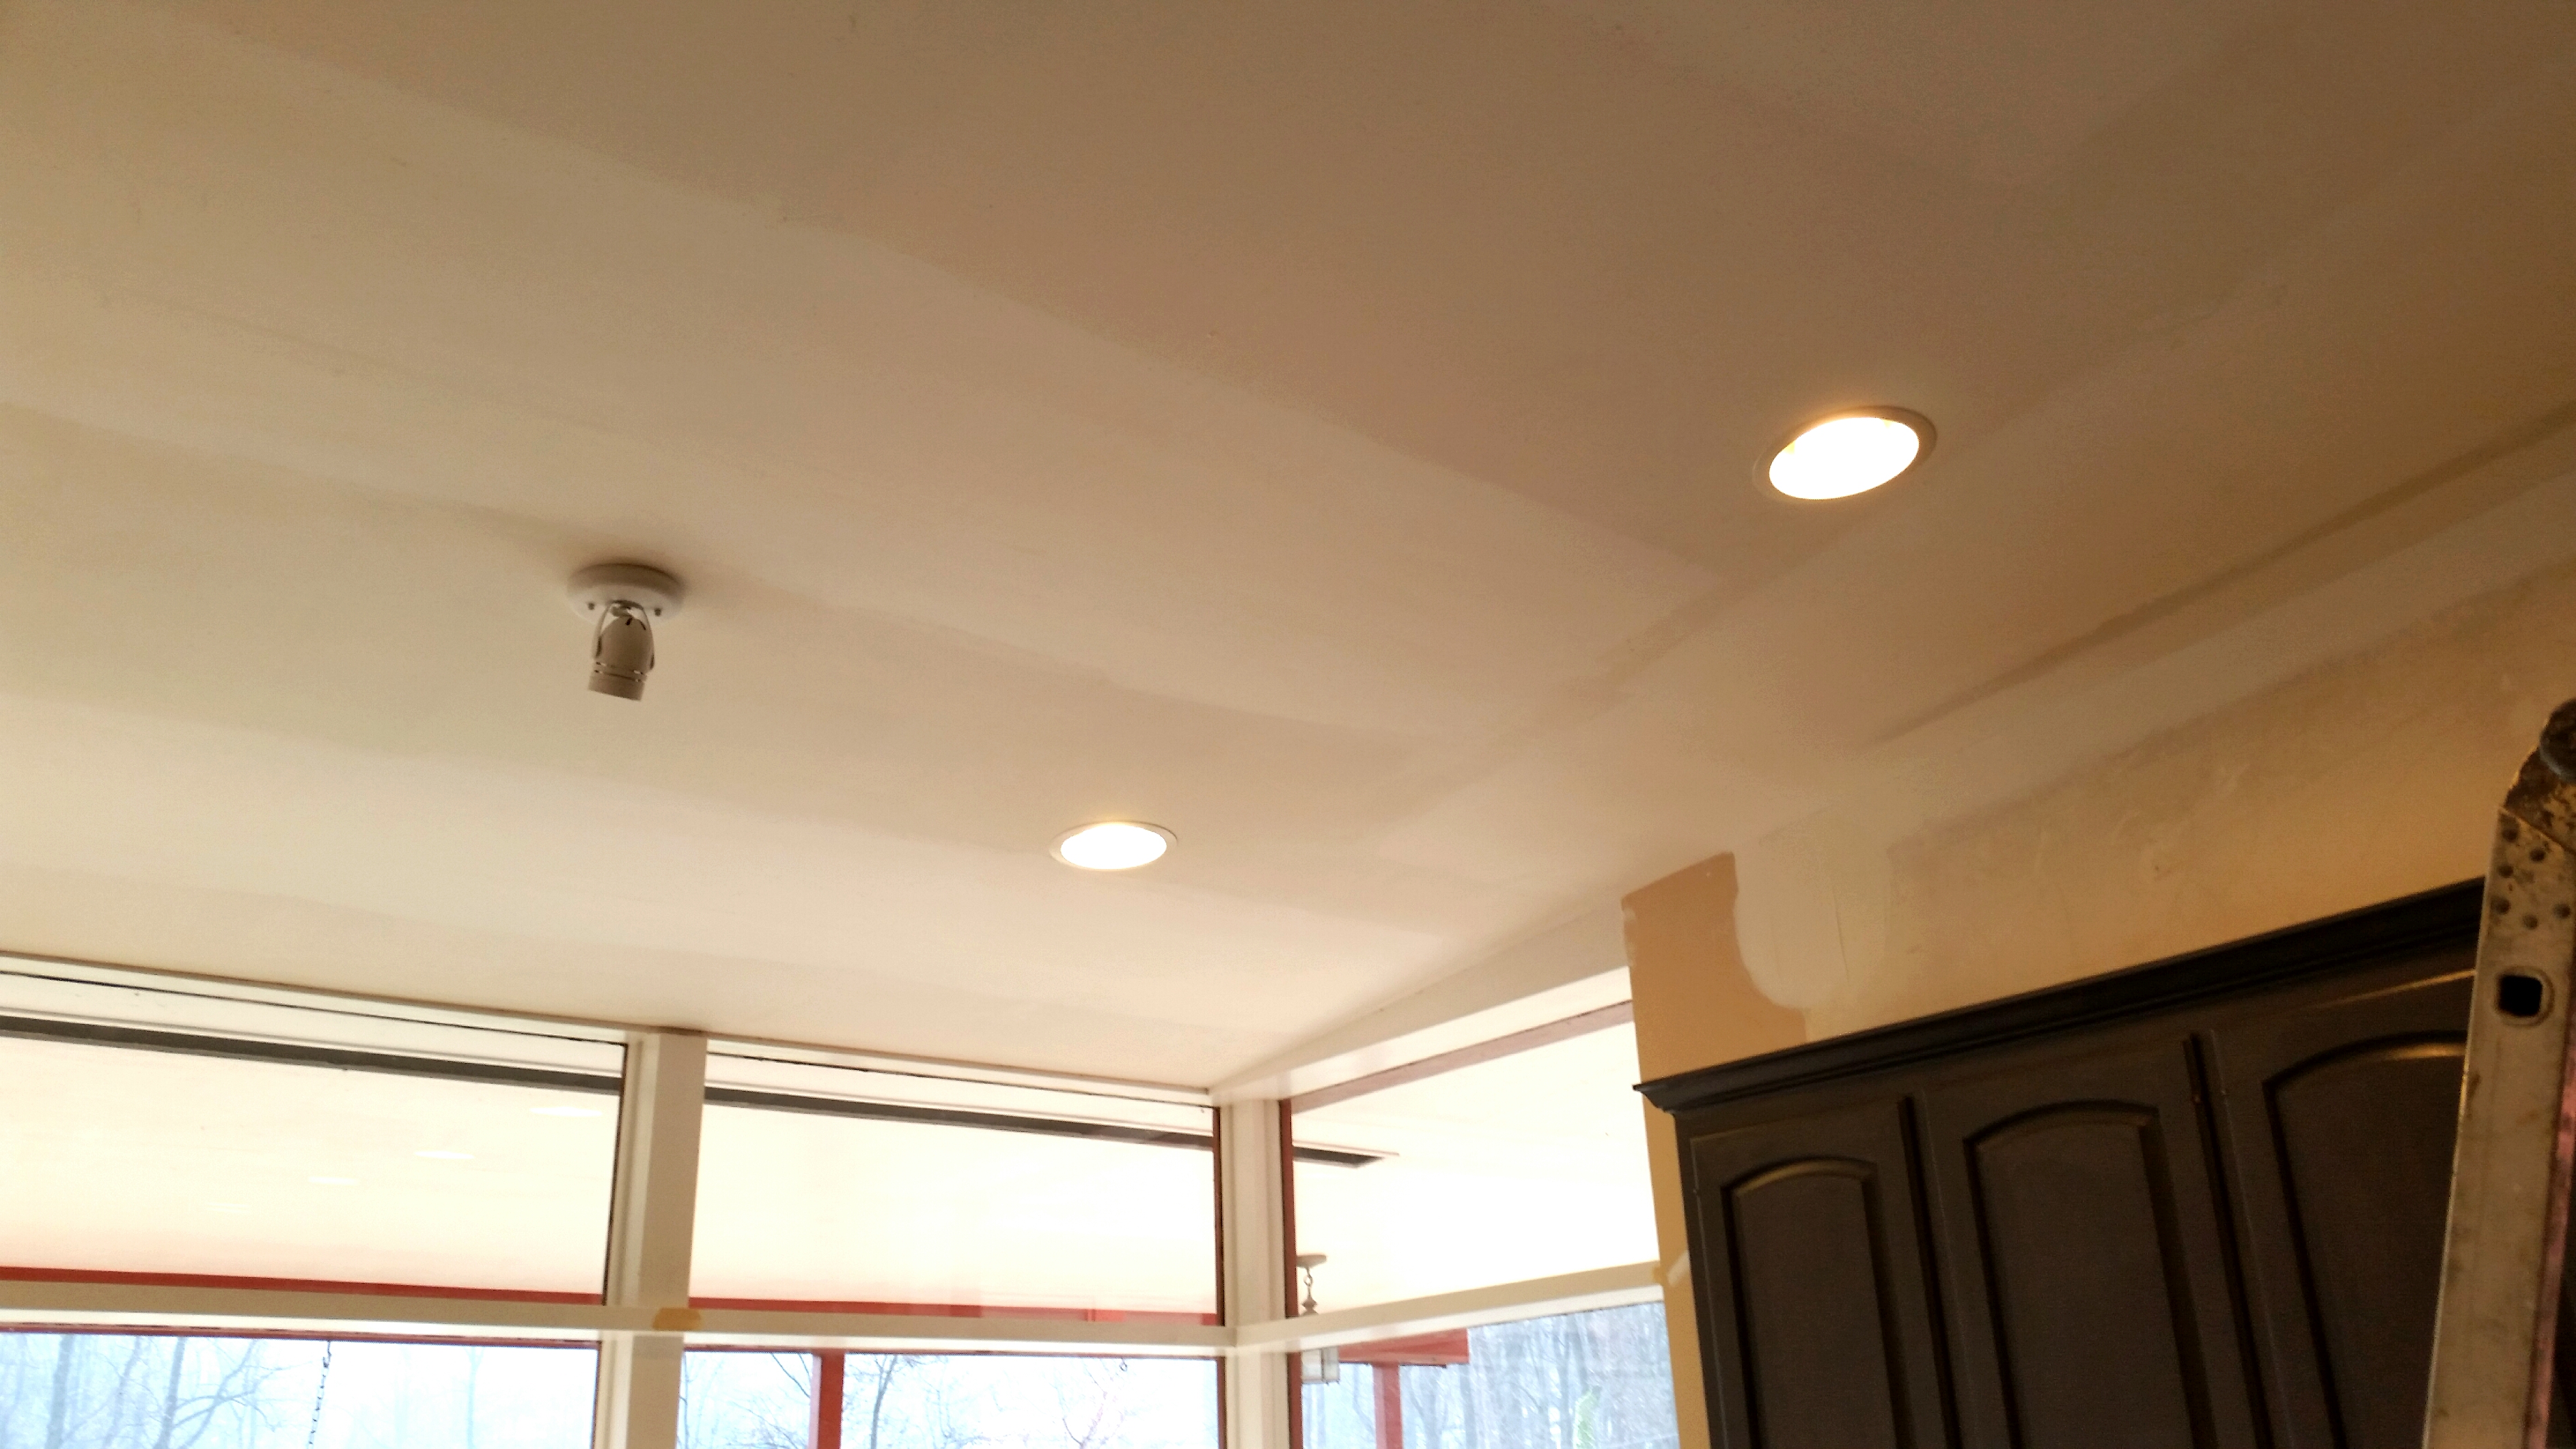
Ceiling painted with Sherwin Williams Qualikote paint (flat finish)
Walls painted with Sherwin Williams Cashmere Low Luster (satin finish)
Trim Painted with Sherwin Williams Duration (Semigloss finish)
Challenges of this Kitchen Remodel Job:
- This job was a “One Day Special,” meaning that when 8 hours was up, we were finished because the money stopped flowing! We LOVE a challenge, however, and also enjoy utilizing years of experience using best techniques, in order to make the impossible POSSIBLE. (Note- two coating ceilings, walls, and prepping and two coating trim, all in one day, requires Fans, Fans, and more Fans. And Heaters…. Did we manage to do it? You be the judge, but the Client, and we at JAP, say YES.
- This excellent client also happens to own several firesty German Shepherds. Dogs who sometimes like to jump up on doors and trim. The result? LOTS of patching to do on many surfaces that are normally ready to go with just a quick cleaning. We used a hard but fast drying spackle to fill scratch / chew marks in the wood, gave a solid dustless sanding with high grit paper using the Festool System, Oil primed, and were ready to go- all in a fairly short period of time.
- The ceiling was very tall and very large– when we said this was a kitchen, we really meant a KITCHEN! As a result, extra preparation was necessary to protect the brand new, and very expensive, counter tops and appliances. (Yep, that stove does have 6 gas burners and a grill with lava rocks on it….) Because none of these items are in our price range, we did what we always do- over prepped, in order to protect everything. All surfaces were covered with a combination of either tape and butcher block, or tape and plastic. Along with drop cloths, we were as close to protected as a painter can be.
The Process Involved with Kitchen Remodel:
This job was to be completed by just 2 painters, all in 1 day. Because of the dry time of materials this was a tall order, but we were able to complete everything because our system is optimized for efficiency on short jobs like this.
We started by having one person begin to prep the entire area while the other loaded in all required gear for the job, in the order that it was needed. This way surfaces which needed to be cleaned before prep began, such as floors and counter-tops, were ready as soon as materials to protect them were loaded into the job. Once all gear was ready and organized, we worked as a team to cover larger and higher areas with plastic and tape, as needed.
We then split, and as one painter worked on the ceiling, (cut and roll,) the other began the process of grinding the glue down and re-patching heavily damaged areas with our quick dry spackle. Small fans were used to dry the deepest patches, without disrupting the process of painting the ceiling. (Airflow is great for drying- but is the opposite of what you want when you are trying to apply paint! Drying the paint on your brush or in the tray is very counterproductive- trust us!)
After using a large fan to dry the first roll on the ceiling, we brush cut the ceiling area a second time. This is needed for uniformity of the final product, (cut and roll typically need to be done the same number of times, in this case, 2,) and the faster the second cut is finished, the sooner it will dry and someone can move onto cutting and rolling the walls.
While the second coat was rolled on the ceiling, our second painter finished final sanding and priming on the wall patches, then began cutting the wall area. Again, the goal was to complete the 1st coat as fast as possible, so the walls could be re-cut quickly. Once the second cut is dry, we are then able to move onto preparing the trim, even while the walls are being rolled for the 2nd time.
As painter 1 finished the second roll on the walls, painter 2 was completing prep on the trim, which was installed by the homeowner as we worked. This included filling all nail holes, and making a super- thin bead of caulk to close any gaps. (When time constraints are less, we would always caulk trim before painting the walls, but in this case, that wasn’t possible. With practice and a very steady hand, a great result can still be achieved- even when the order of operations isn’t ideal.)
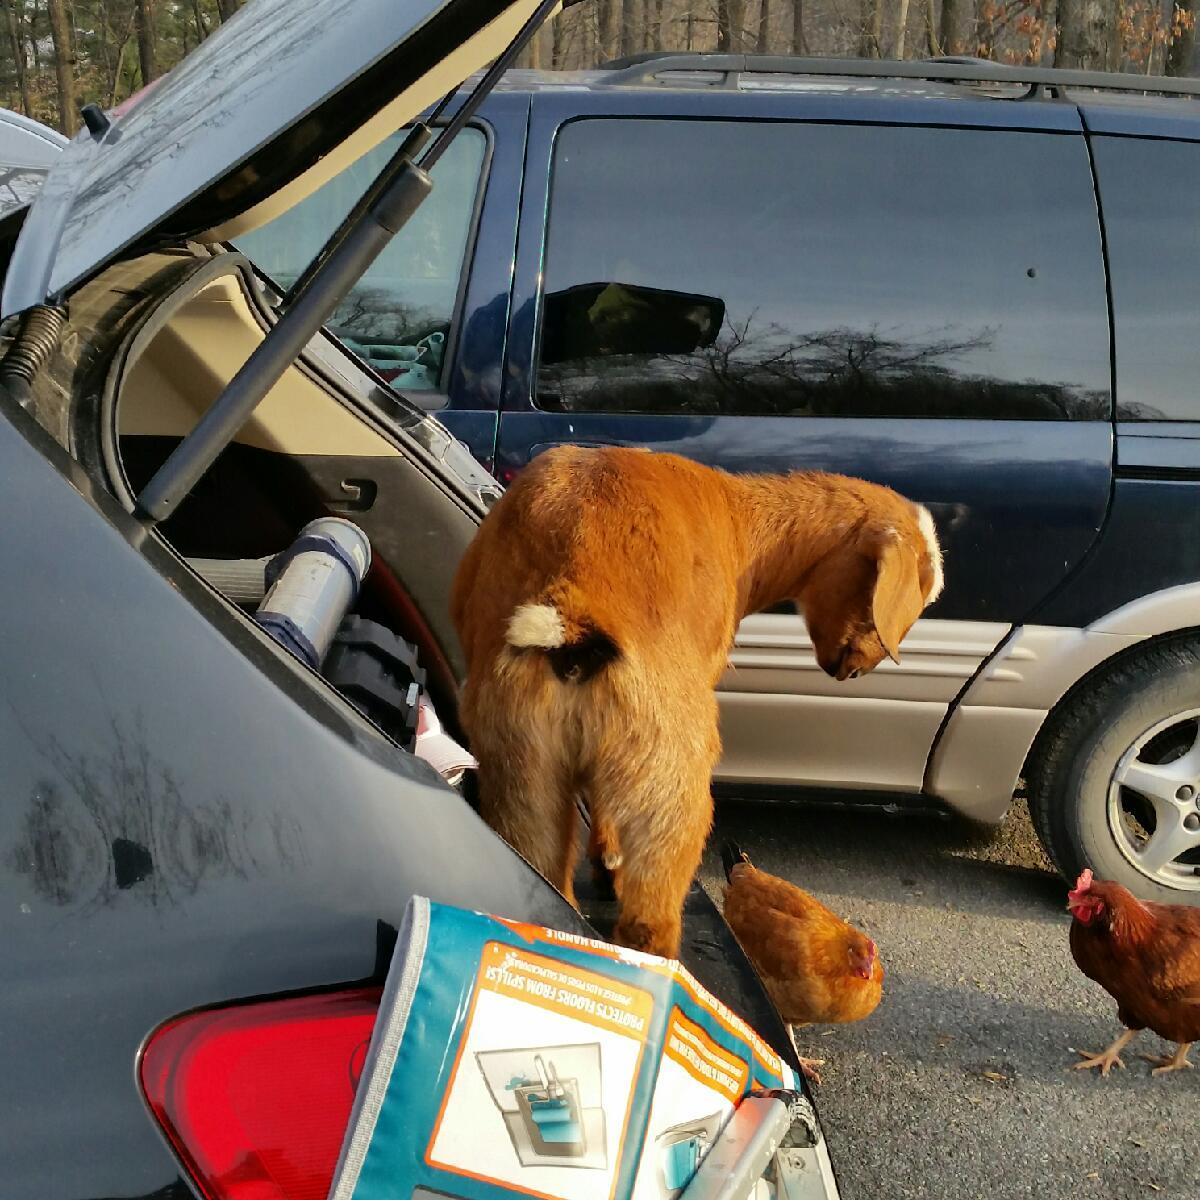
Both painters then switched to painting trim, including a HUGE window taking up nearly an entire wall of space at the end of the kitchen. We weren’t sure we would be able to complete this part of the project in the time allotted, but we finished just in time, and were able to load out all gear in 8 hours! (Ok, it was 8.5, but we just couldn’t leave the last little bit unfinished. And to be fair, the last 15 minutes was spent trying to get a goat out of my car, which isn’t really painting….)
The Result
The final product of the one day job was a BEAUTIFUL kitchen. The client had already done a TON of hard work to get the kitchen to this point, so we were very excited to be called in to finish things off. We enjoyed seeing the relief on the clients face as the kitchen was “put back together” at the end of the day, looking polished and beautiful- even in the areas the new backsplash would soon cover. How much did it cost to paint a kitchen this large and in need of HUGE amounts of prep work? Thanks to a skilled and knowledgeable staff with some state of the art equipment it came in UNDER $900 with materials! This was one of our most challenging, but also most exciting and REWARDING jobs in quite a while! Thanks again for having us – it truly was our pleasure…
Here is another project profile you may enjoy:
https://www.justaddpaint.net/painting-brick-in-camp-hill-pa-17011
Interested in saving money on house painting? https://www.justaddpaint.net/save-money-on-painting
By W. Grant Tankersley for Just Add Paint


