By Curtis Tankersley of Just Add Paint!
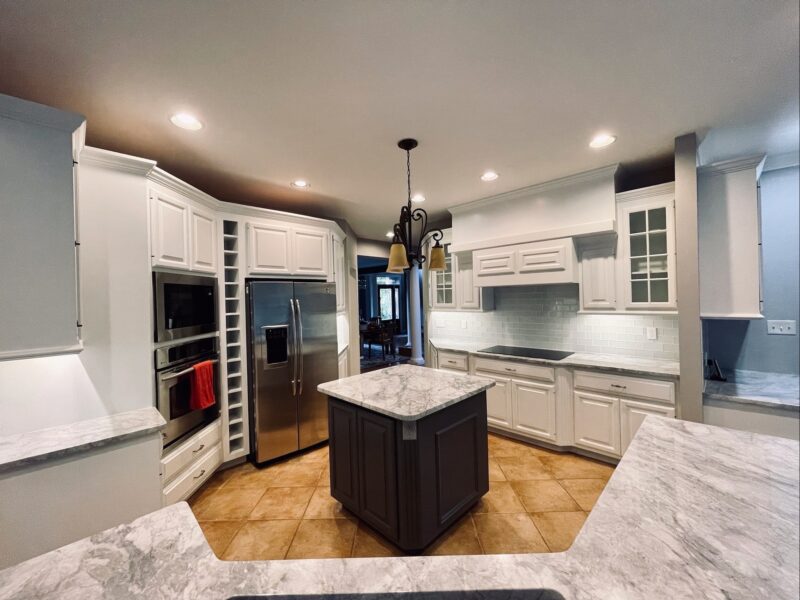
After months (or years) of planning and stalking Pinterest, you have finally gotten estimates for your cabinet painting project. The contract has been signed, the deposit has been paid, and colors have been selected. The one thing you forgot to ask was “What is the process for Cabinet Painting?” Just Add Paint does things pretty much the same on all cabinet painting jobs, and it looks something like this…
First things first, please take care of your end of the bargain! We plan for some minor hiccups, however, we need help with a few things before we can get started…
- Remove contents of drawers and cabinets. Emptying cabinets can take several hours and is the most common issue we run into. Customers don’t account for this in many cases, and starting “the morning of” is usually not enough time.
- Do not store items removed from cabinets on counter tops. We need to mask off these areas and occasionally need the space for air scrubbers/filters/fans. Moving boxes work best for storage. This is a great time to de-clutter and get rid of anything that is expired/unnecessary (My girlfriend just threw out some spice that expired in 2004, so it happens to the best of us…)
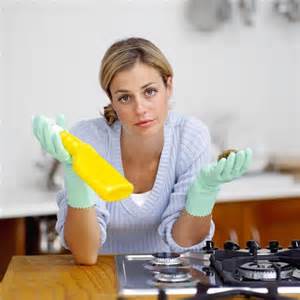
- Clean extremely messy cabinets with dish soap and water to avoid a change order/additional cost. We have a standard cleaning process for cabinets, however, excessive grease/grime can add extra time to the job.
- Alert all contractors if other projects are being done in the kitchen. Job sequencing is important for working efficiently. Most customers are unaware there is a proper sequence for job order. But there is, and doing so results in a job without interruption or added cost. Cabinets are commonly damaged by countertops, flooring, and falling tile/flying grout, and are therefore normally painted last.
- Get an estimate for room painting at the same time you are getting your cabinet estimate. Painting multiple projects at the same time is more efficient and saves money.
- If you are having your doors replaced and would like us to dispose of your old doors, please let us know ahead of time so we can plan accordingly. Our garbage collectors hate this as much as yours does, and paint/cabinet disposal comes up a LOT at our houses. Our disposal fee is $100 for small sets, $150 for medium sets, and $200 for large sets, which includes a tip for our garbage man so he doesn’t disappear on us.
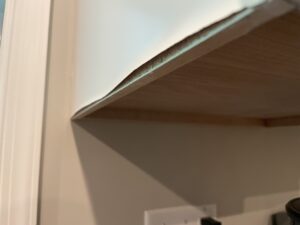
- Lastly, inspect cabinets closely before painting begins. Make note of any damage, particularly doors/drawers that do not open and close properly. Carpentry issues are easier to address when they are identified ahead of time.
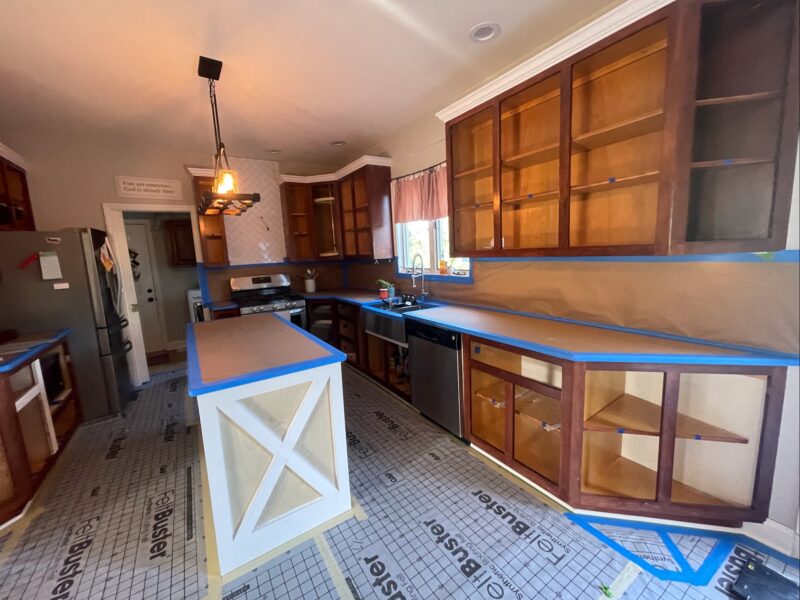
Cabinet Painting Day 1: The first day of cabinet painting begins with the prep process.
- Prepare Floors. Protect floors with butcher block paper or roofing laminate. These products protect floors from paint, cleaning products, and overspray. Delicate surface tape is spec’d to hold floor masking in place and not damage floors. (Although please note any areas of failing polyurethane ahead of time. Failing floors are a homeowner responsibility that should be addressed before painting. We cannot avoid tape on the floors because it creates a tripping hazard.)
- Prepare Countertops. Protect counter tops with butcher block paper or plastic.
- Remove Cabinet Doors. We remove cabinet doors and number/label them so we remember where they belong. Once labeled, doors are carefully packed and transported to our shop.
- Clean and Sand Cabinet Boxes. We de-grease cabinet boxes with a biodegradable cleaner and then wipe down with a solvent. Sanding is completed using a Festool Dustless HEPA Vac system to ensure a clean work area. Dust is clearly something we are trying to avoid during cabinet painting!
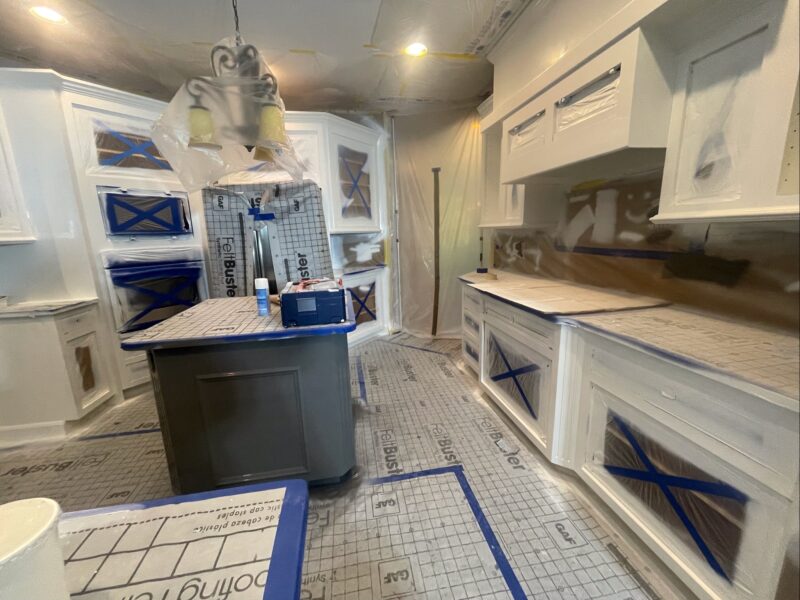
Cabinet Painting Day 2: The second day of the process involves finishing the prep process and constructing a spray booth around the kitchen.
- Mask Cabinet Openings. Protect inside of cabinets by taping and masking inside openings. We usually use masking tape for this area to make sure the paper/plastic holds.
- Construct Booth. Wave goodbye to your refinishers! We construct a booth to keep the painting confined to the kitchen. We create negative airflow to extract overspray and vapors from the kitchen. Negative airflow is hard to explain, but it is basically evacuating the odor/vapors outside and constantly bringing fresh air into the booth.
- Scrub The Air. Air is continuously cleaned with a powerful HEPA air scrubber inside the booth. The air scrubber also pre-filters particulates from the air. Carbon fiber filters remove VOCs and odor for added safety.
- Priming Begins. Application of primer will occur on day 2 and dry overnight.
Cabinet Painting Day 3: The third day of cabinet painting is typically spray day (woo hoo!)
- Sand Prime Coat.
- Apply 2nd Prime Coat. Application of a 2nd coat of primer is next. Fixing of minor imperfections may occur between first and 2nd coat of primer.
- Apply Top Coat. We sand the 2nd coat of primer with our Dustless Sanding System, and apply a topcoat.
- Apply 2nd Top Coat. Light sanding of first topcoat followed by application of 2nd topcoat.
Cabinet Painting Day 4: If everything has gone according to plan, you will not see cabinet painters in your home on day 4. However, please rest assured that plenty of activity is still going on in our shop!
- Occasionally painting will occur in-house on day 4. Possible reasons include: Cabinet set is very large, an extra prime coat was needed (often for oak), an extra topcoat was needed, imperfections we notice, dry time was hindered by humidity or temperature.
- Complete Shop Work On Doors And Drawer Faces.
- Remove Booth And Any Remaining Masking In-House.
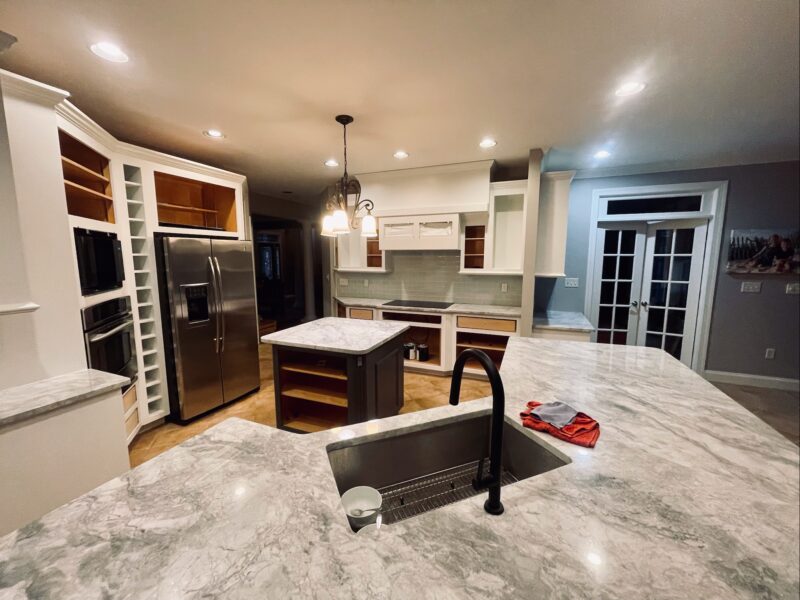
Cabinet Painting Day 5: (Drumroll please…) Reinstallation of painted cabinet doors takes place on day 5.
- Transport Doors To Job Site. Transportation of doors to job site. Foam sleeves protect all doors and drawers for safe transport.
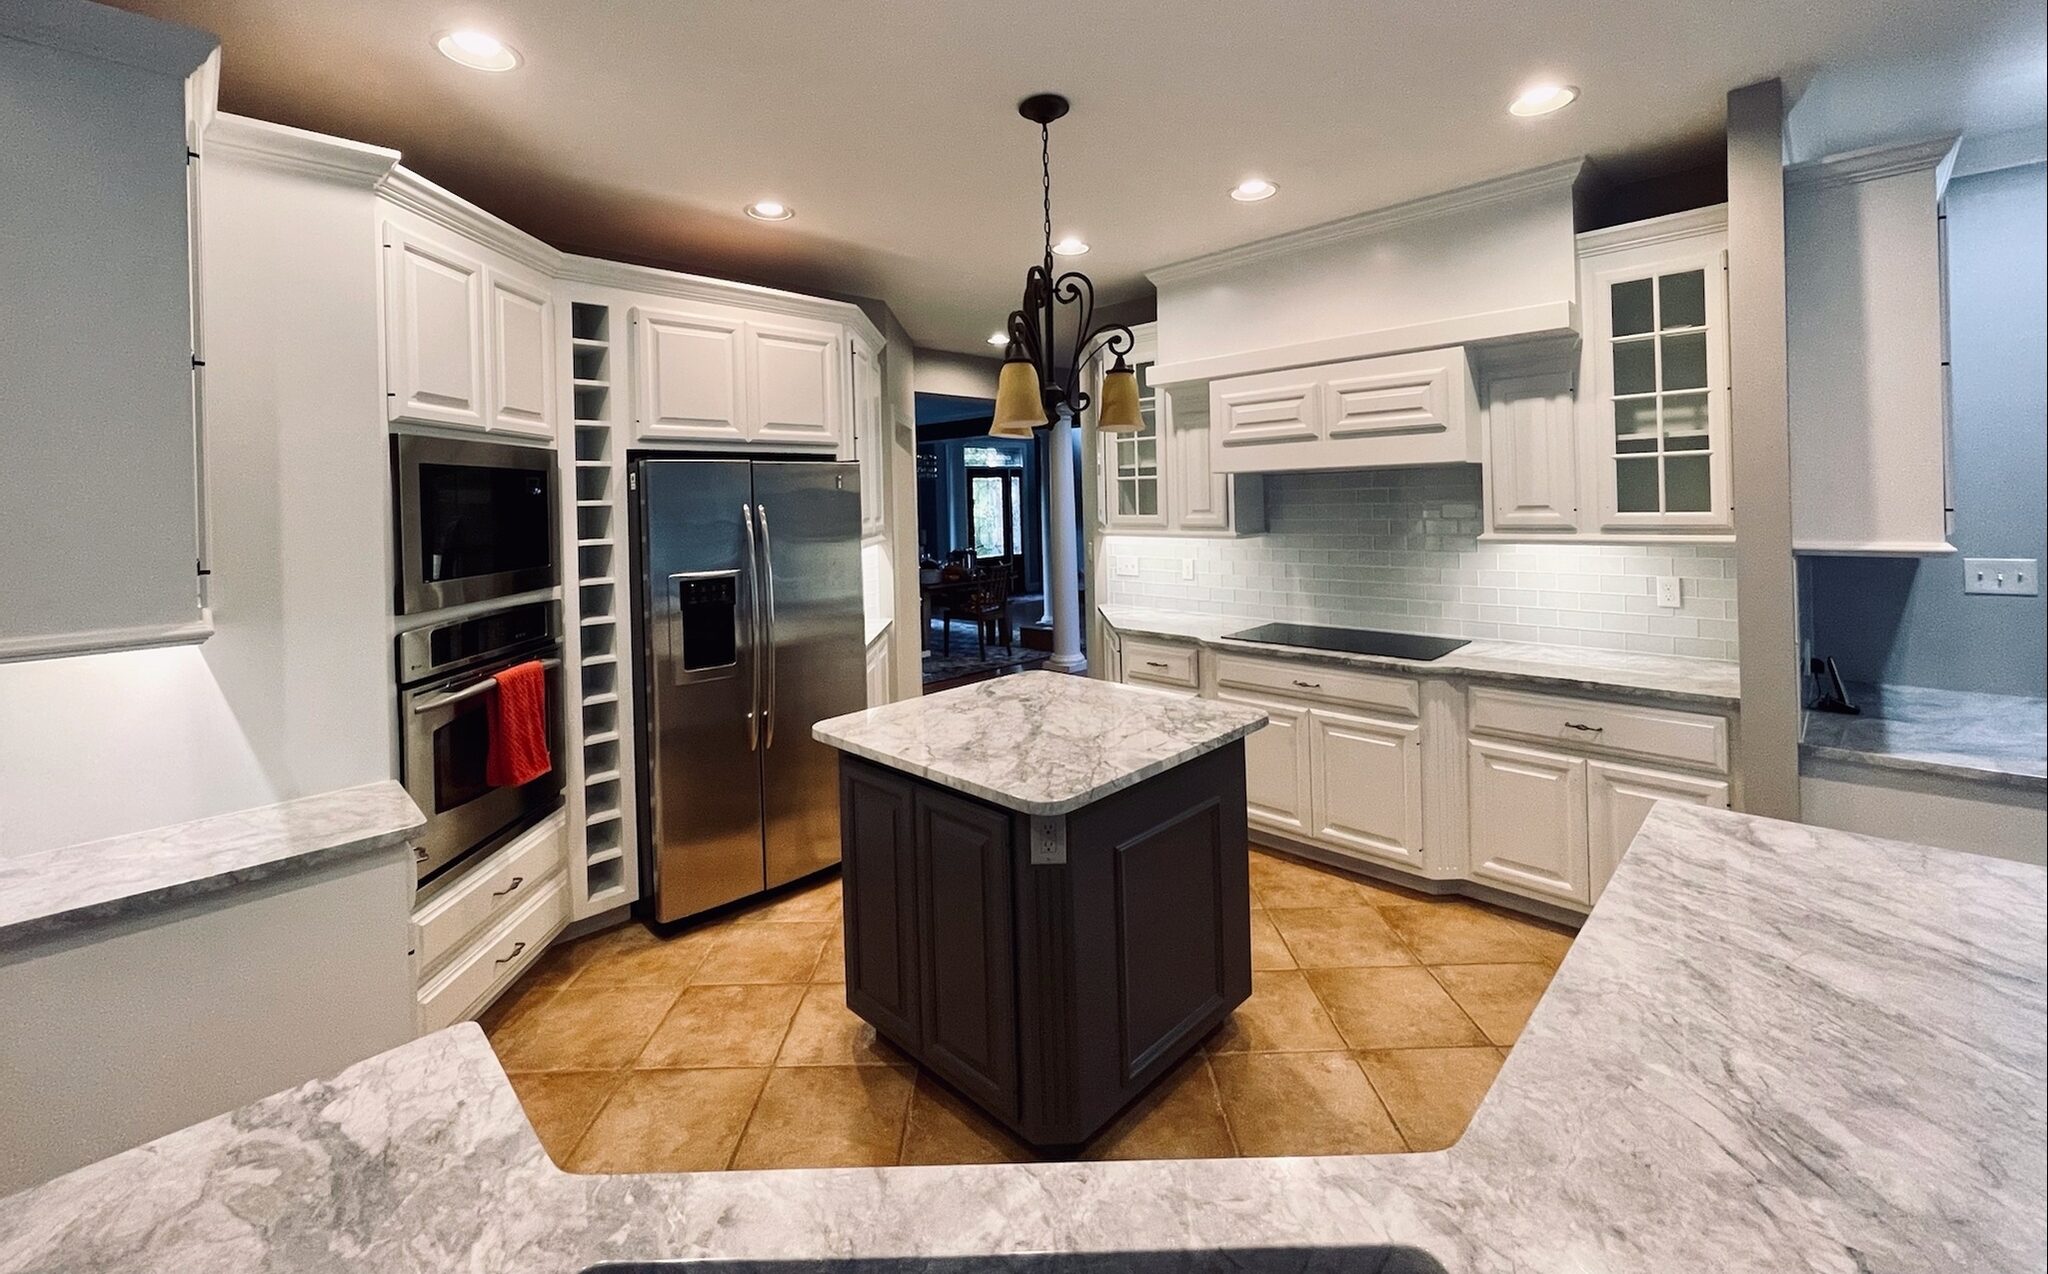
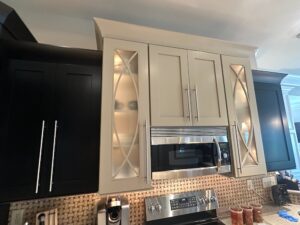
- Hang and Balance Doors and Drawer Faces. Return doors and drawer faces in their natural homes, looking better you could possibly have imagined.
- Install Hardware. Installation of hardware is free of charge if it fits existing holes.
Post-Cabinet Painting World. What To Expect:
- Free Touch Up: Just Add Paint includes a 1 year in-house touch up, with up to 2 hours of labor.
- Cabinet Care: Clean cabinets using only warm water and dish soap with a microfiber rag. Keep pressure to a minimum. Clean tougher stains with Krud Kutter, however, make sure to dilute 80-90% to avoid damage. Read more on this here https://www.justaddpaint.net/how-to-clean-painted-kitchen-cabinets-just-add-paint
- Prepare for Cabinet Envy: Painted cabinet envy is a real thing. You may have a hard time getting friends, neighbors, and family to leave your home because they are too busy staring at your new cabinets. We recommend having a good plan in place to help people move along when the party is over.
We hope you have enjoyed this blog about The Process For Cabinet Painting. Please feel free to reach out to us for estimates – and also if you are a DIYer and just have some questions we can answer in an email. We are happy to talk shop about all things painting even if you are planning to do a job yourself!

Free Online Estimating https://www.justaddpaint.net/contact-us
www.justaddpaint.net
https://www.facebook.com/justaddpaint/


